
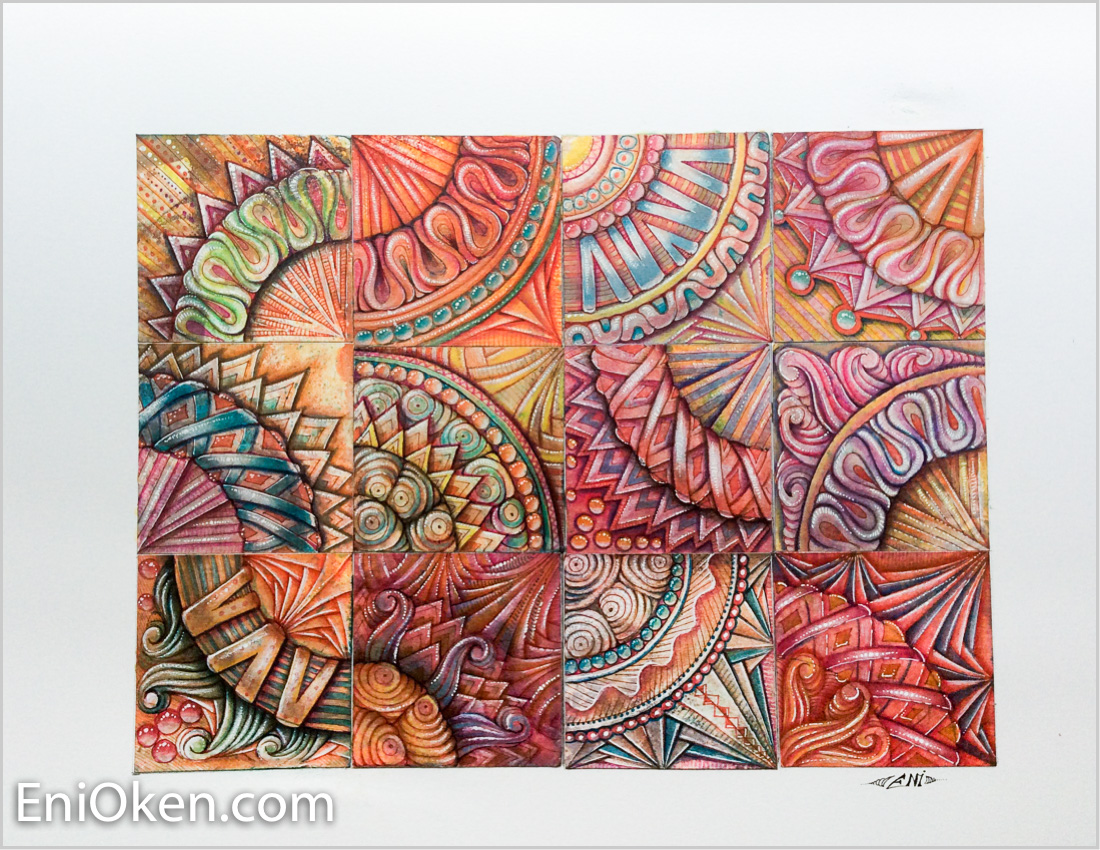
Distress Ink Quilt

Recently there were a couple of Zentangle® challenges prompting tanglers to create a sort of "quilt" made with various different tiles. Since I was releasing my new Distressed Tiles video at that time, I figured it would be a good exercise! The first step was to create the tiles:

I had so much fun making the tiles! Interesting how even though all the tiles were cut out from the same pages, they turned out each very differently. Next, I marked all the tiles with semi-circles with a compass, so they would resemble traditional quilt blocks. I tangled using a brown pen, varying the tangles and placement, but keeping the semi-circles visible.

I used a variety of pens to add line-weight, coloring, shading and highlights. It took forever to finish this stage and at one point it seemed like I wouldn't complete it. That's why I love Zentangle -- the projects are short and can be finished in one or two sittings!


After a couple of weeks of procrastination, yesterday I finally sat down, finished all the highlights and glued it on to a bristol vellum background. I'm going to frame this one for posterity, because I'll probably never do this again! Here is the final picture:


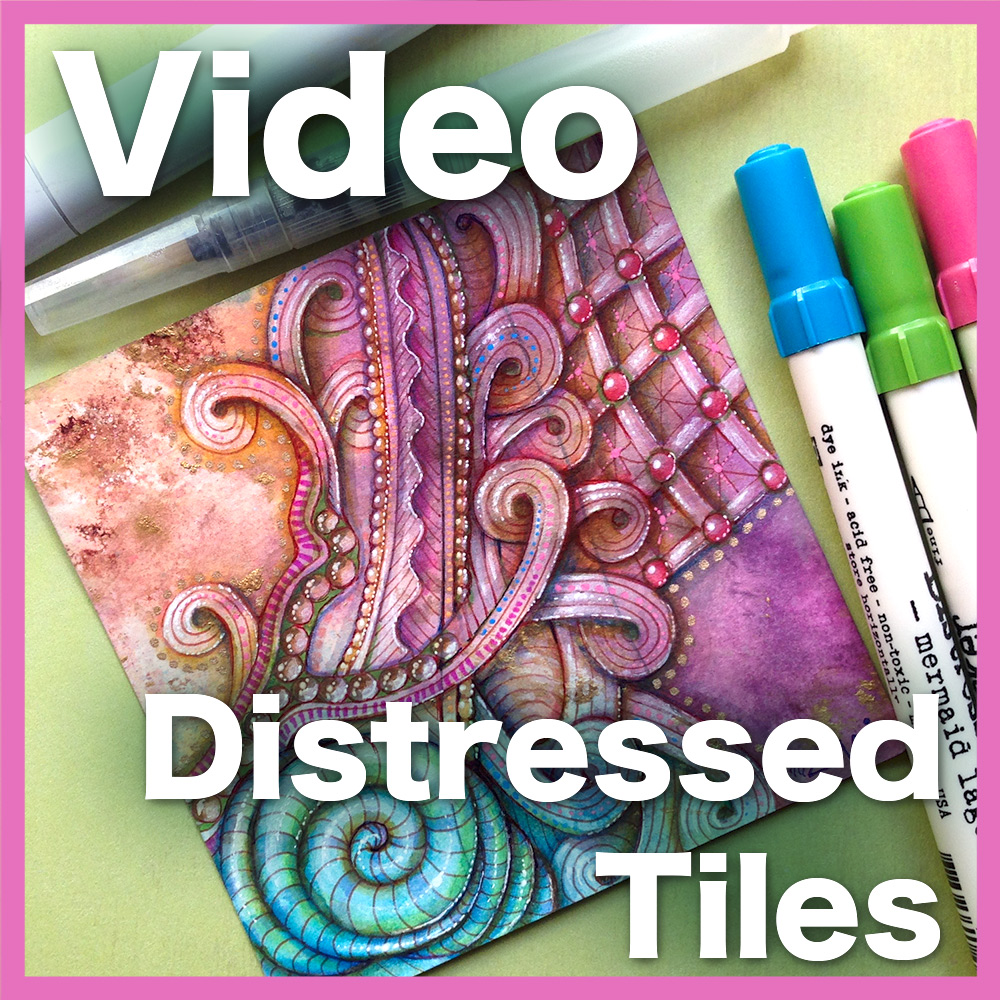
If you want to learn more about my technique on how to create and tangle distressed tiles, then check out:
Related Artwork


Copyright 2017 Eni Oken