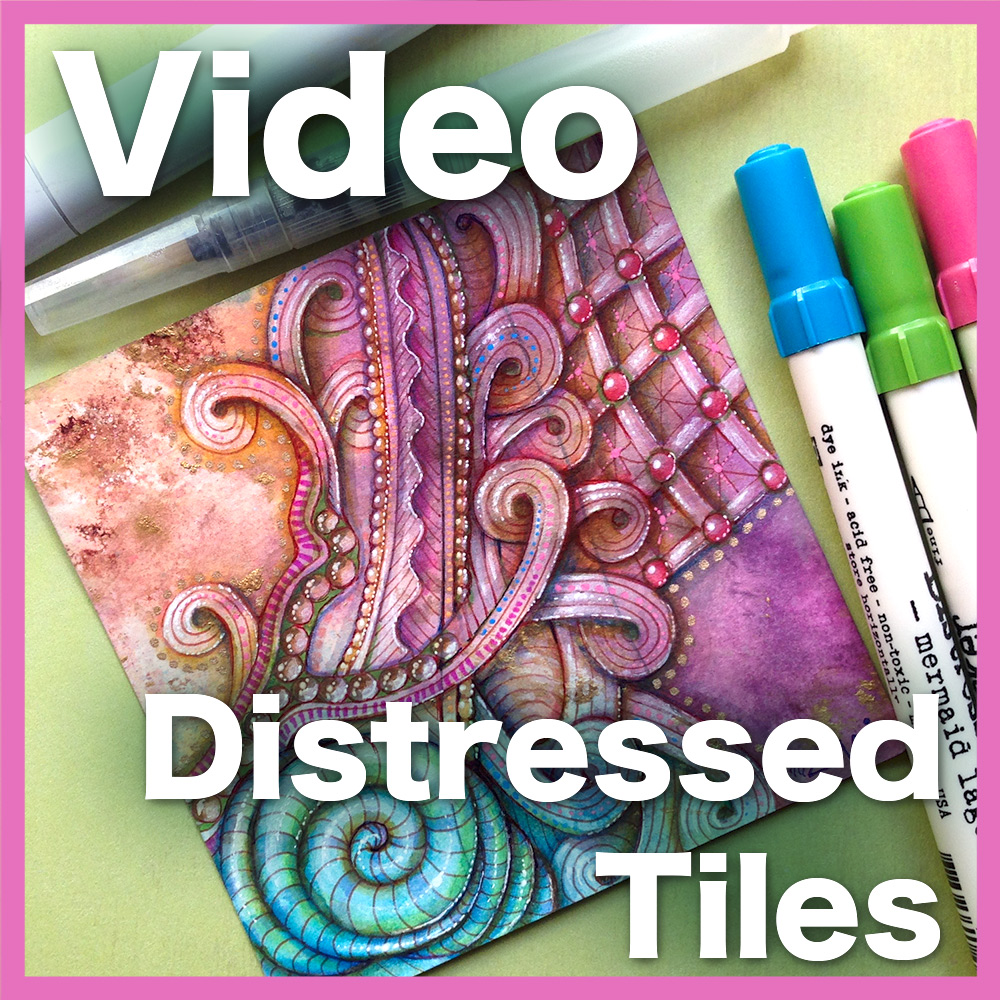
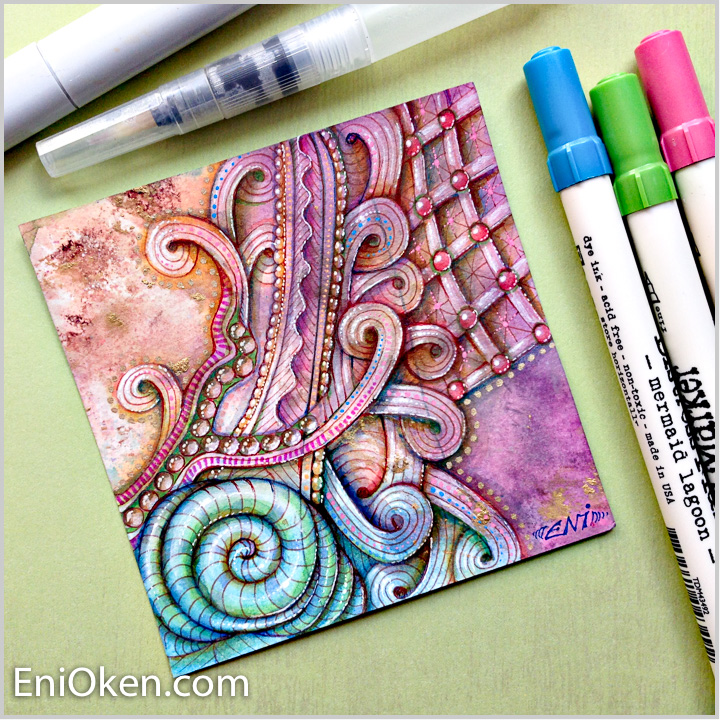
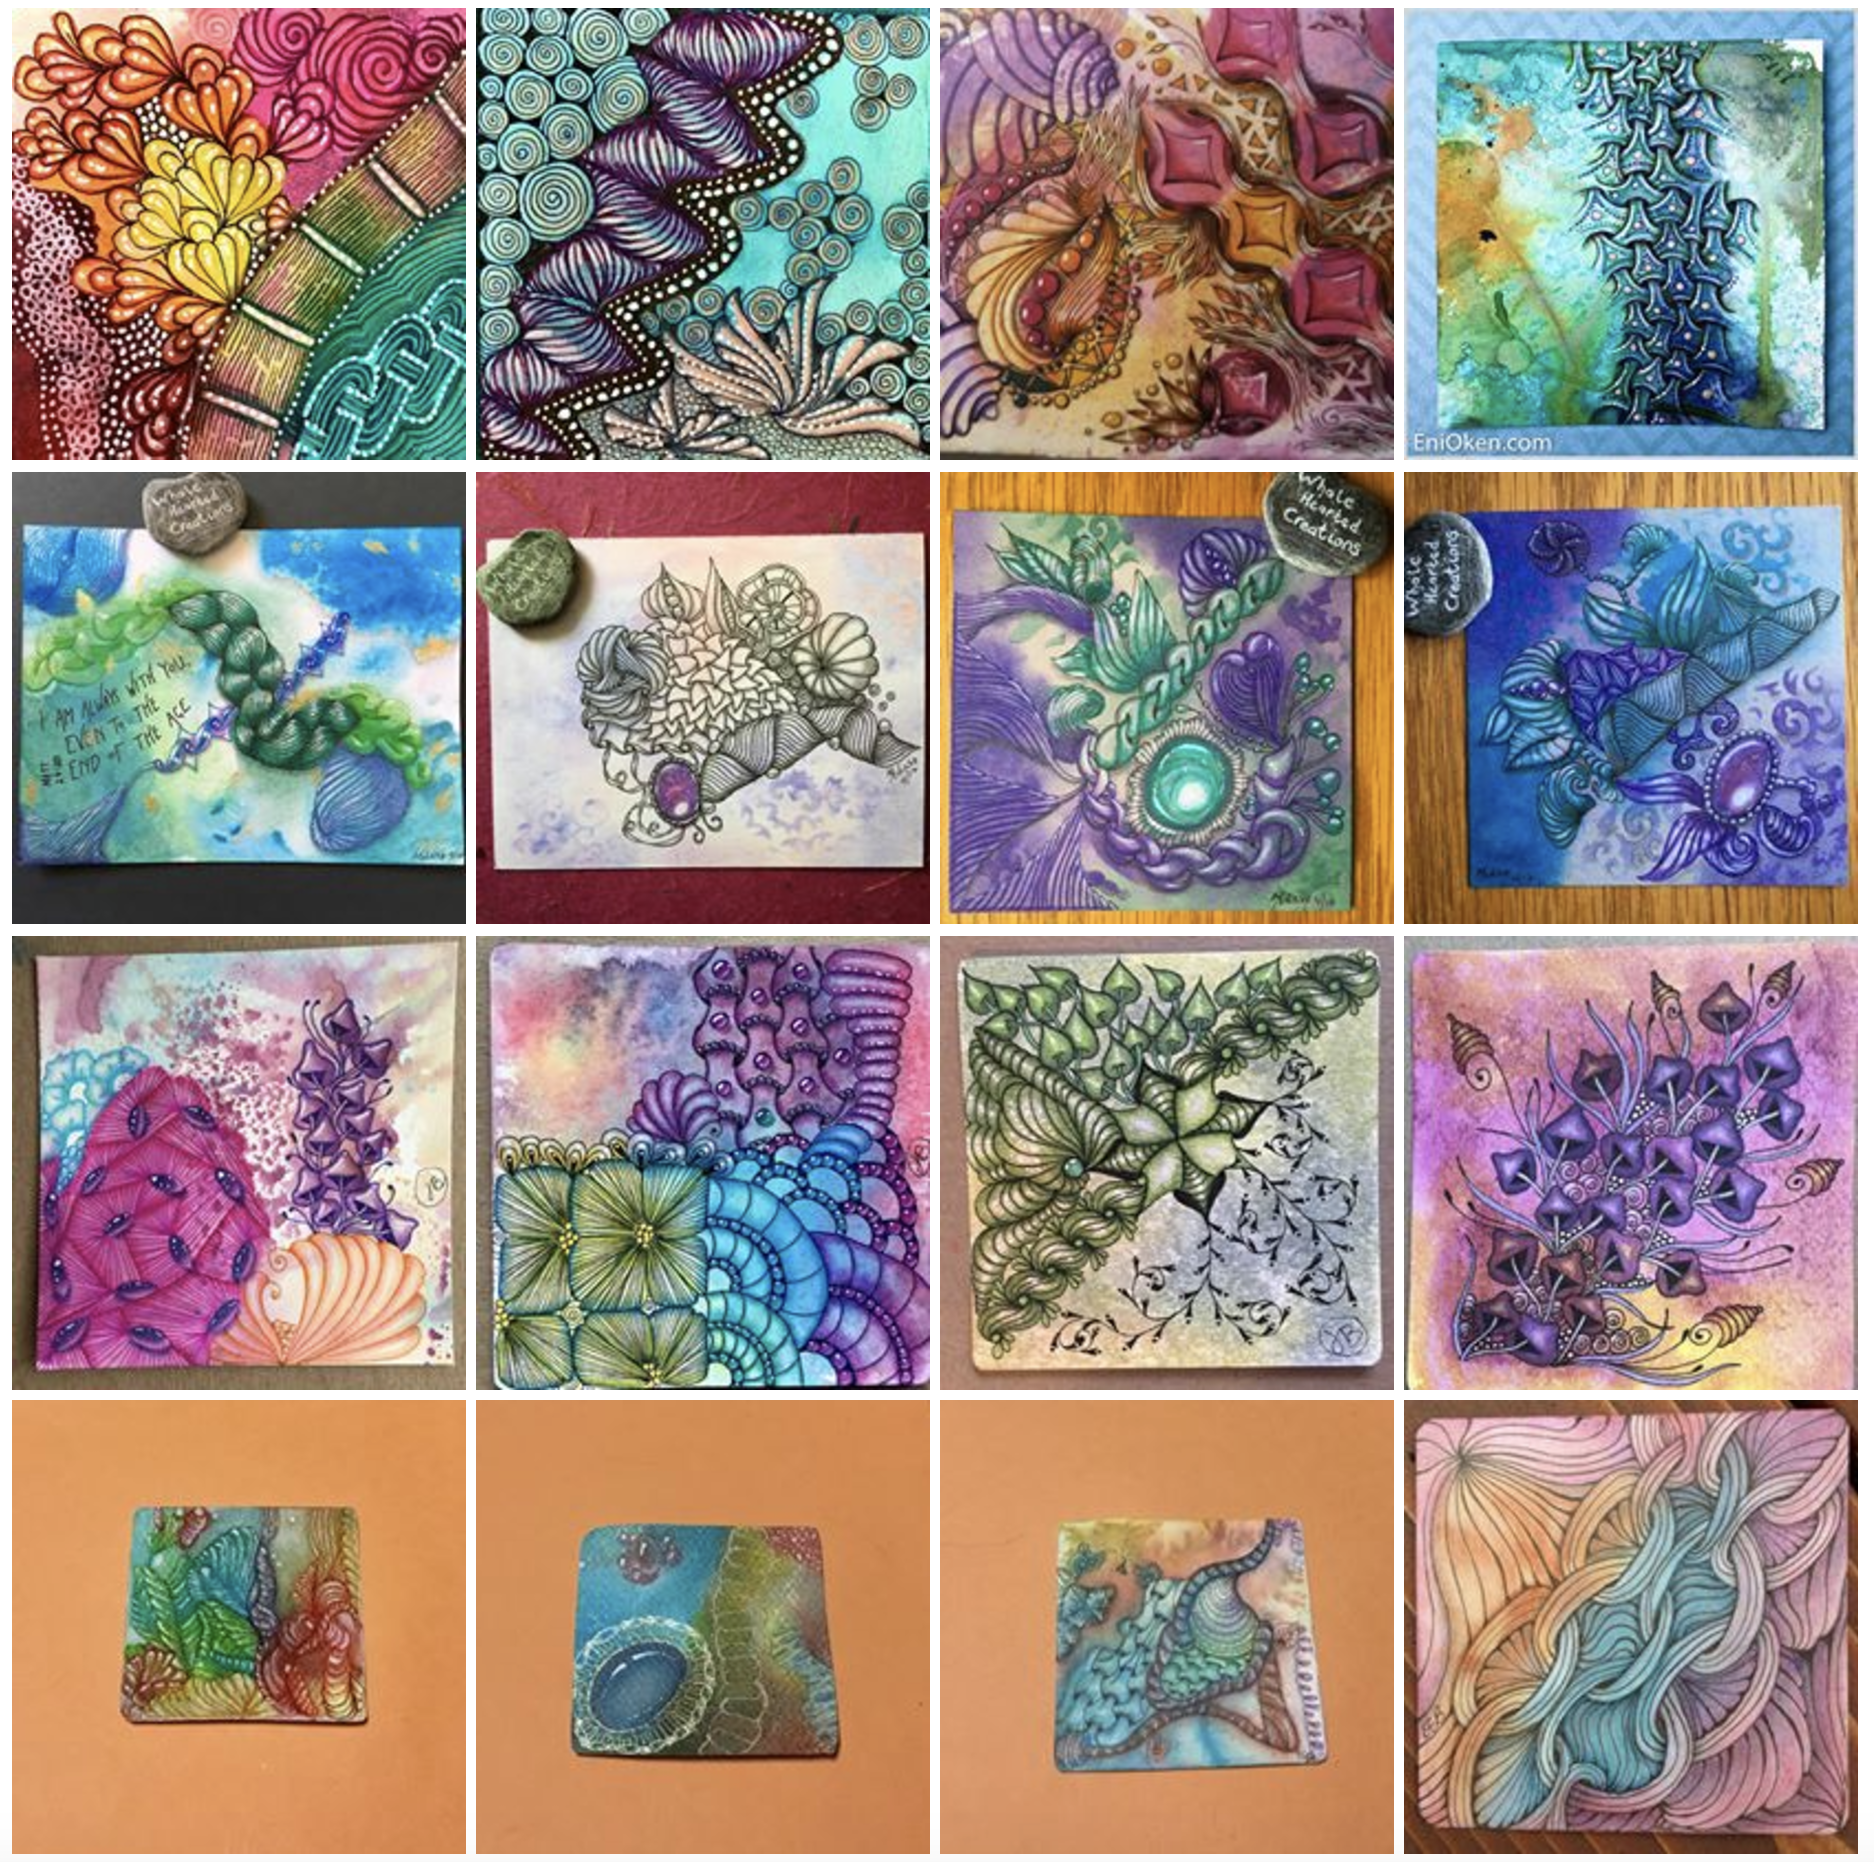
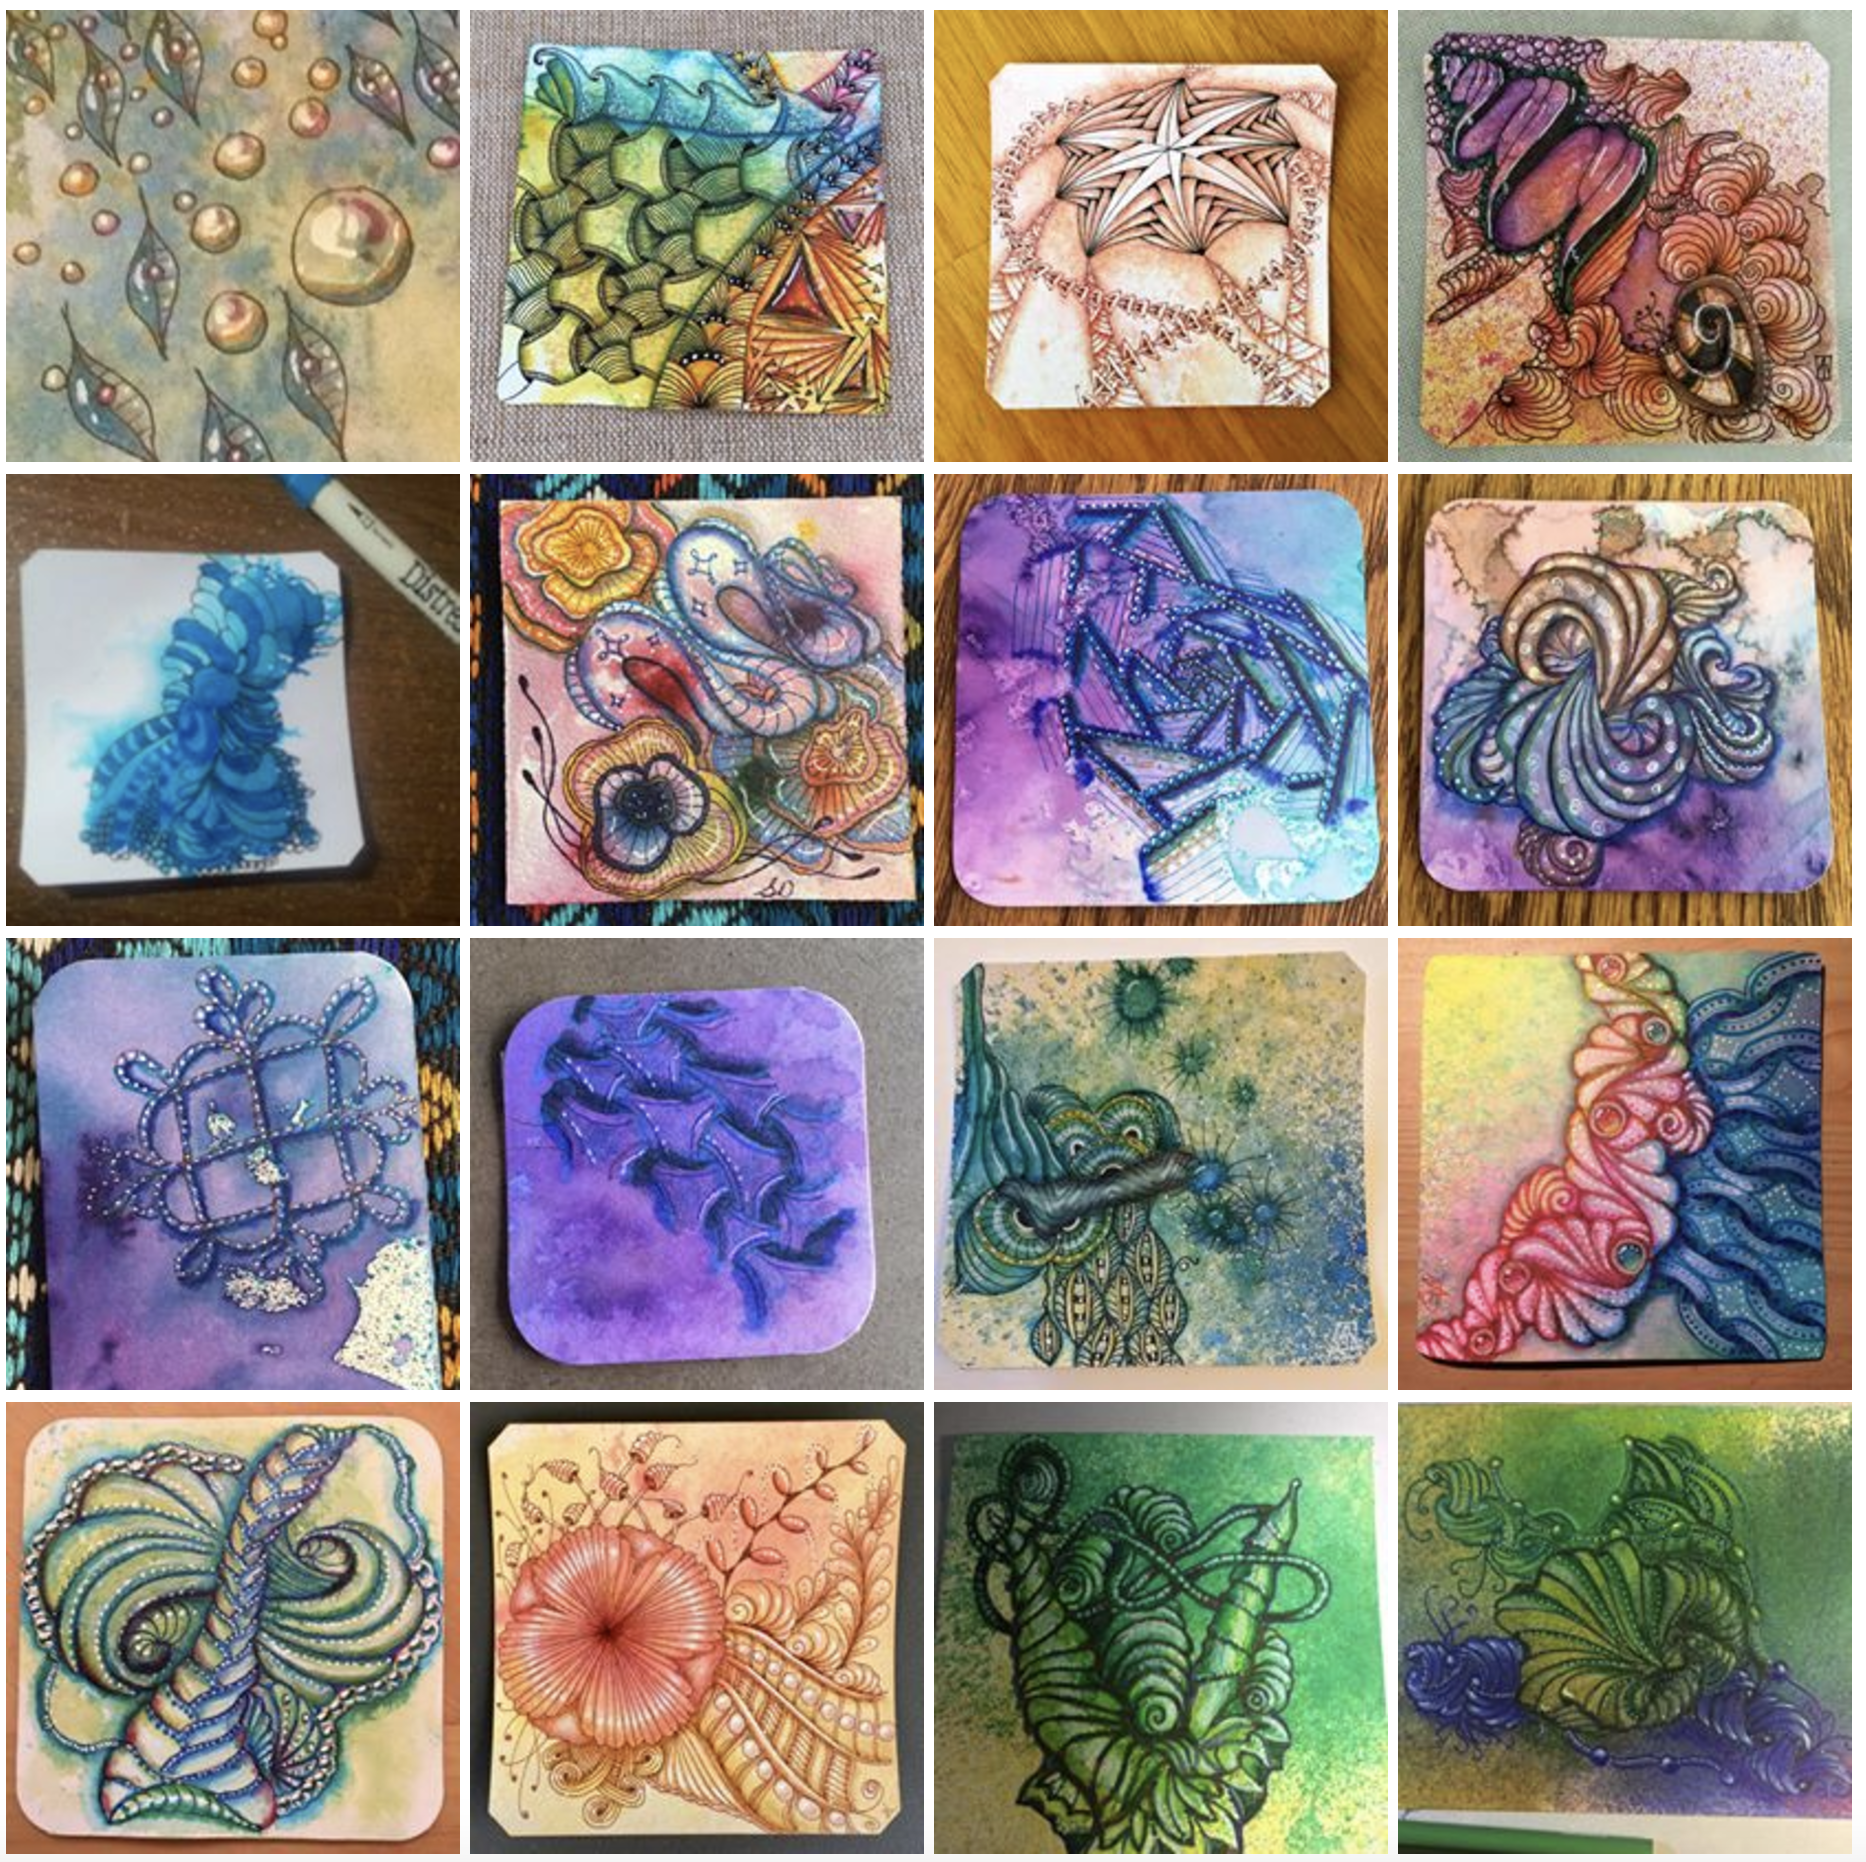
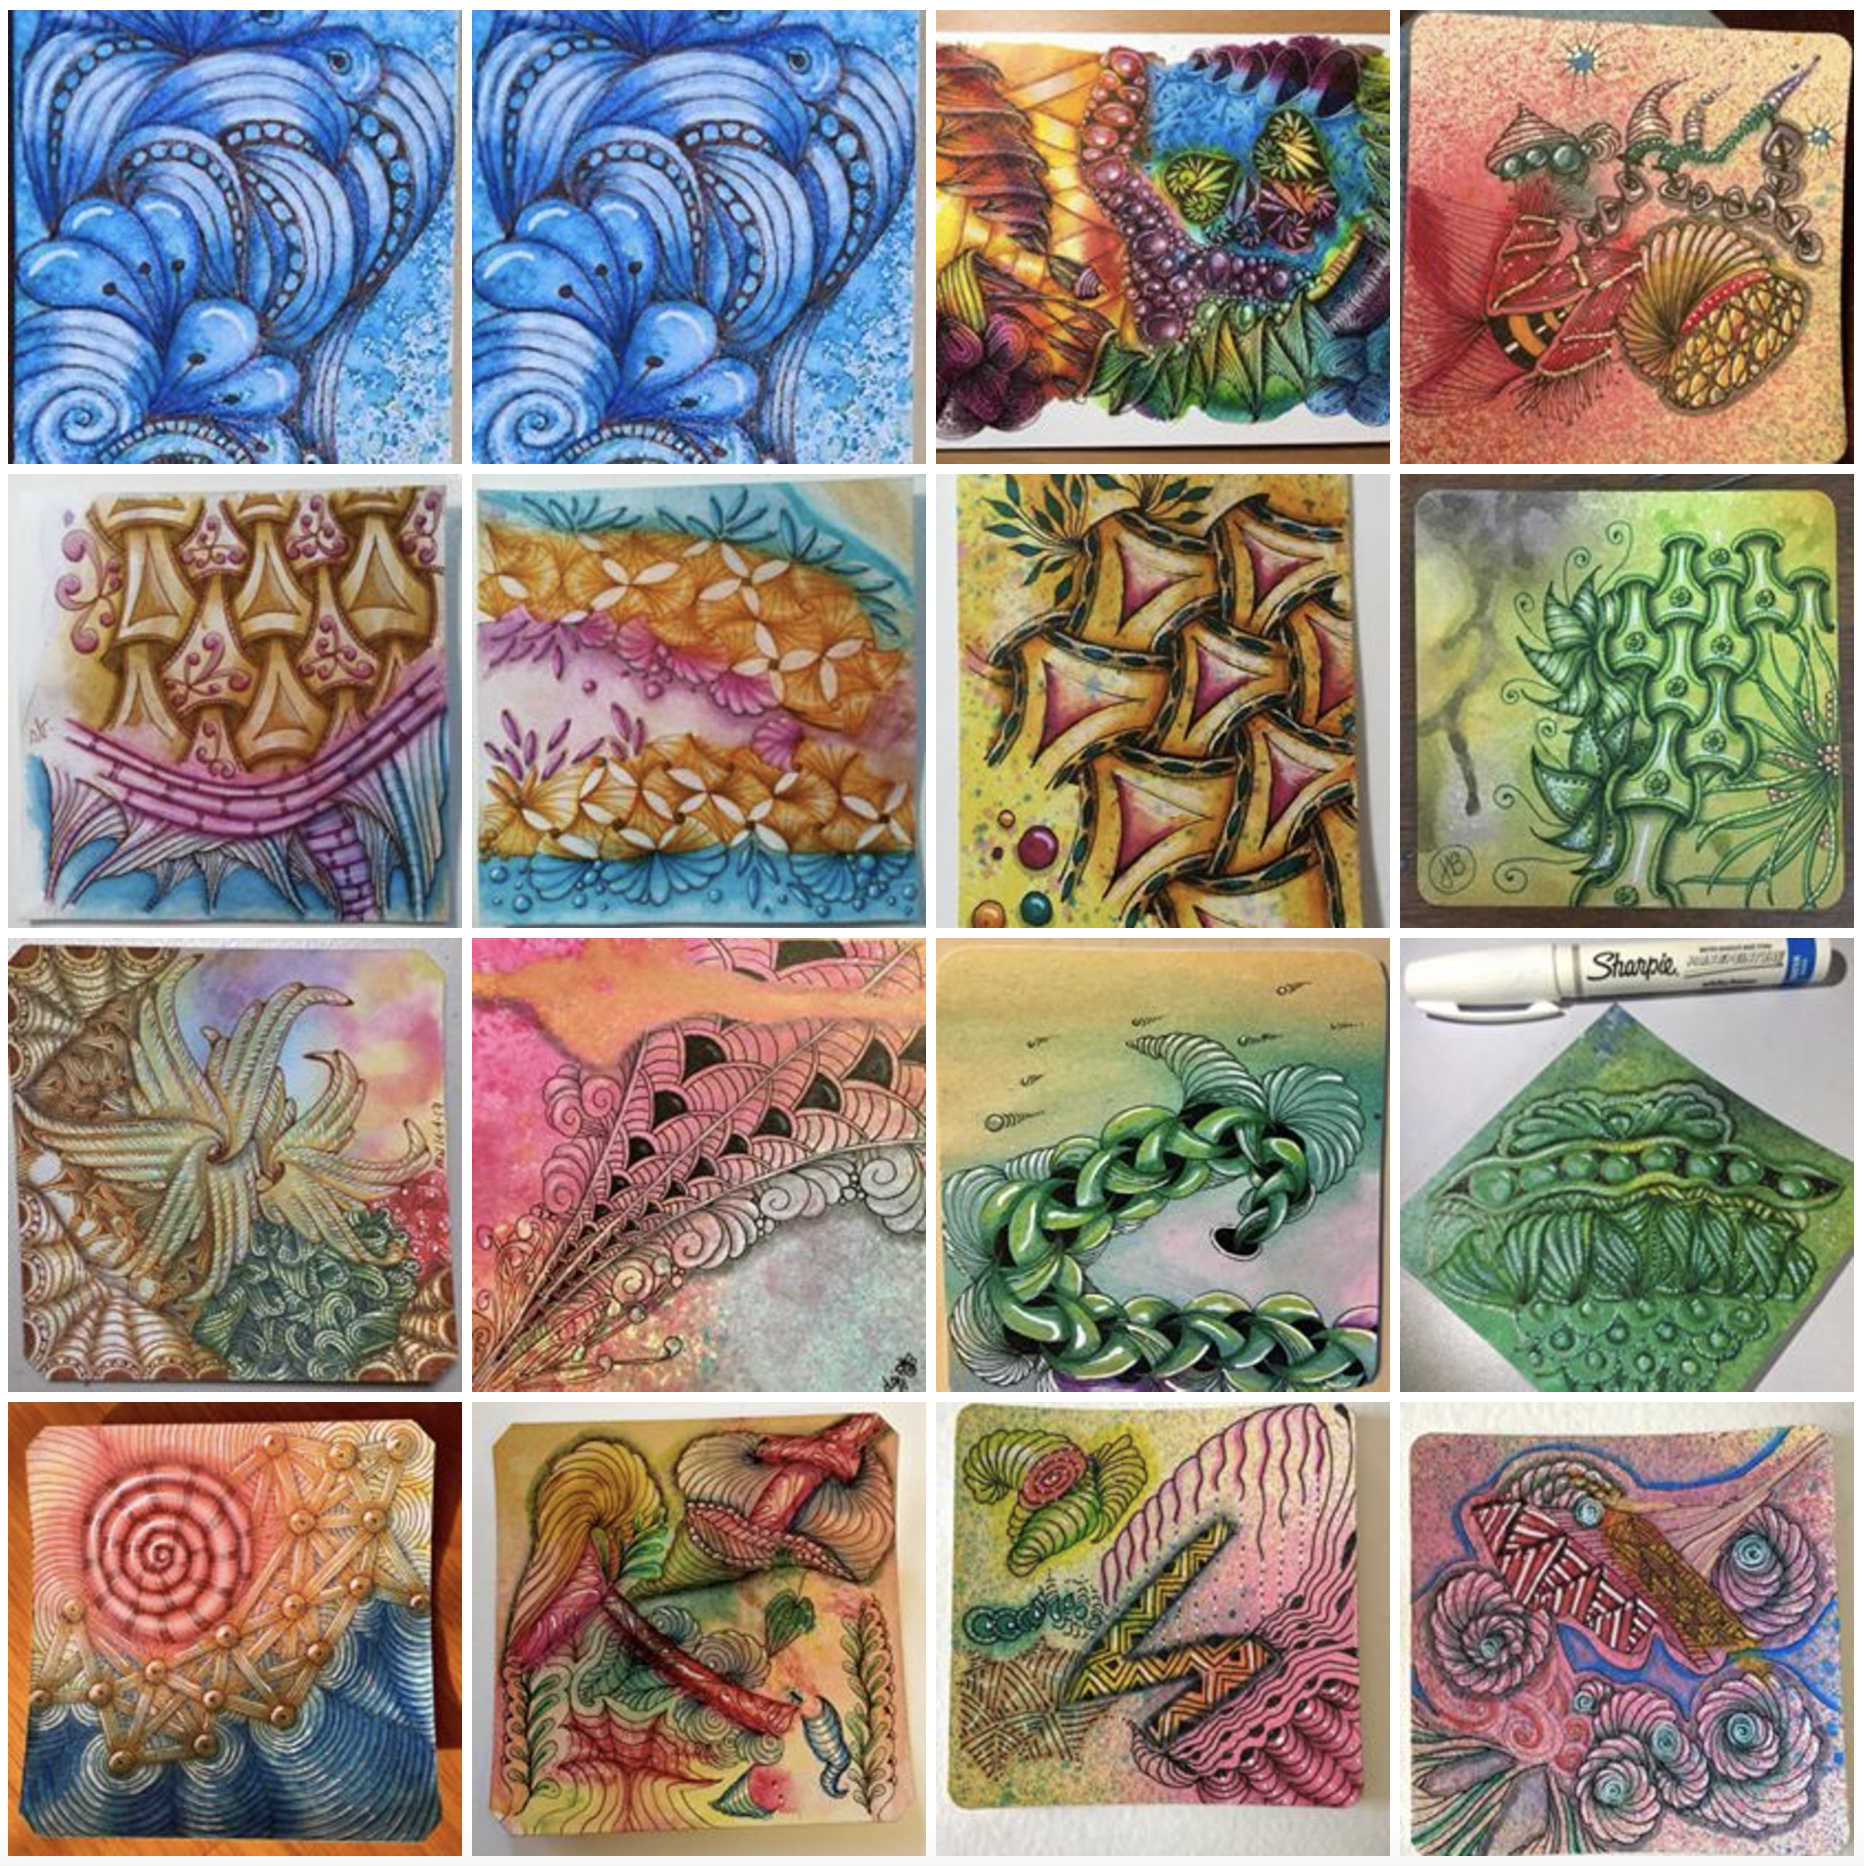
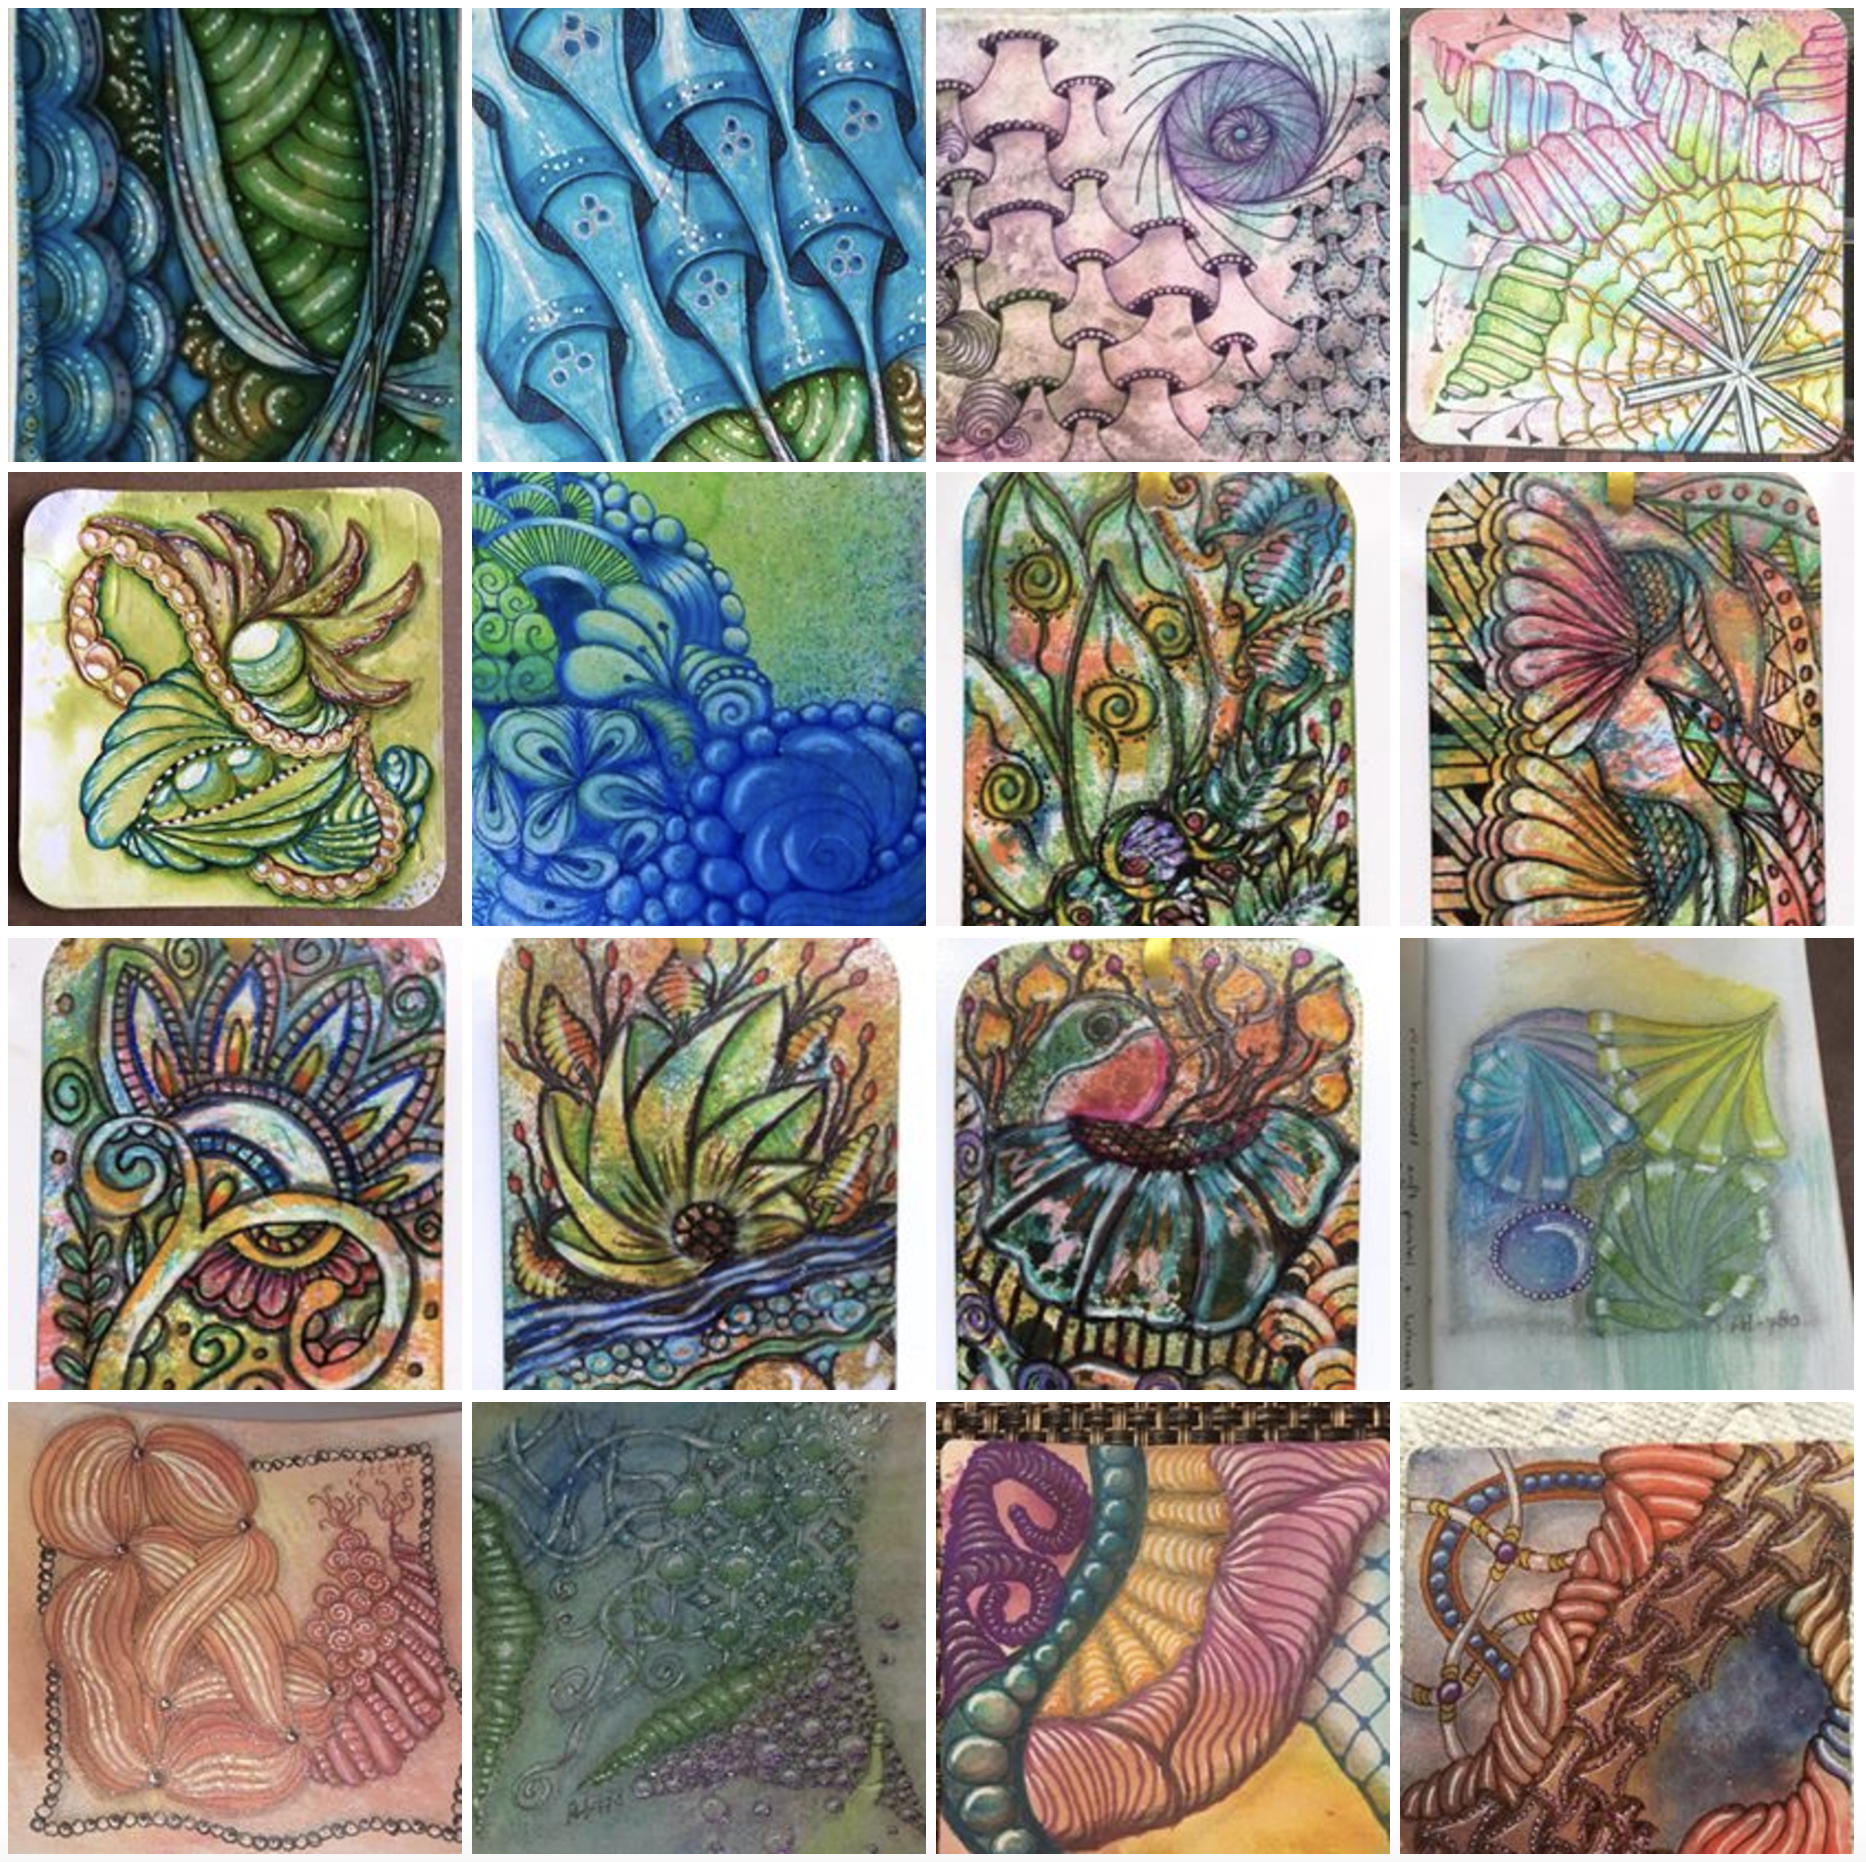
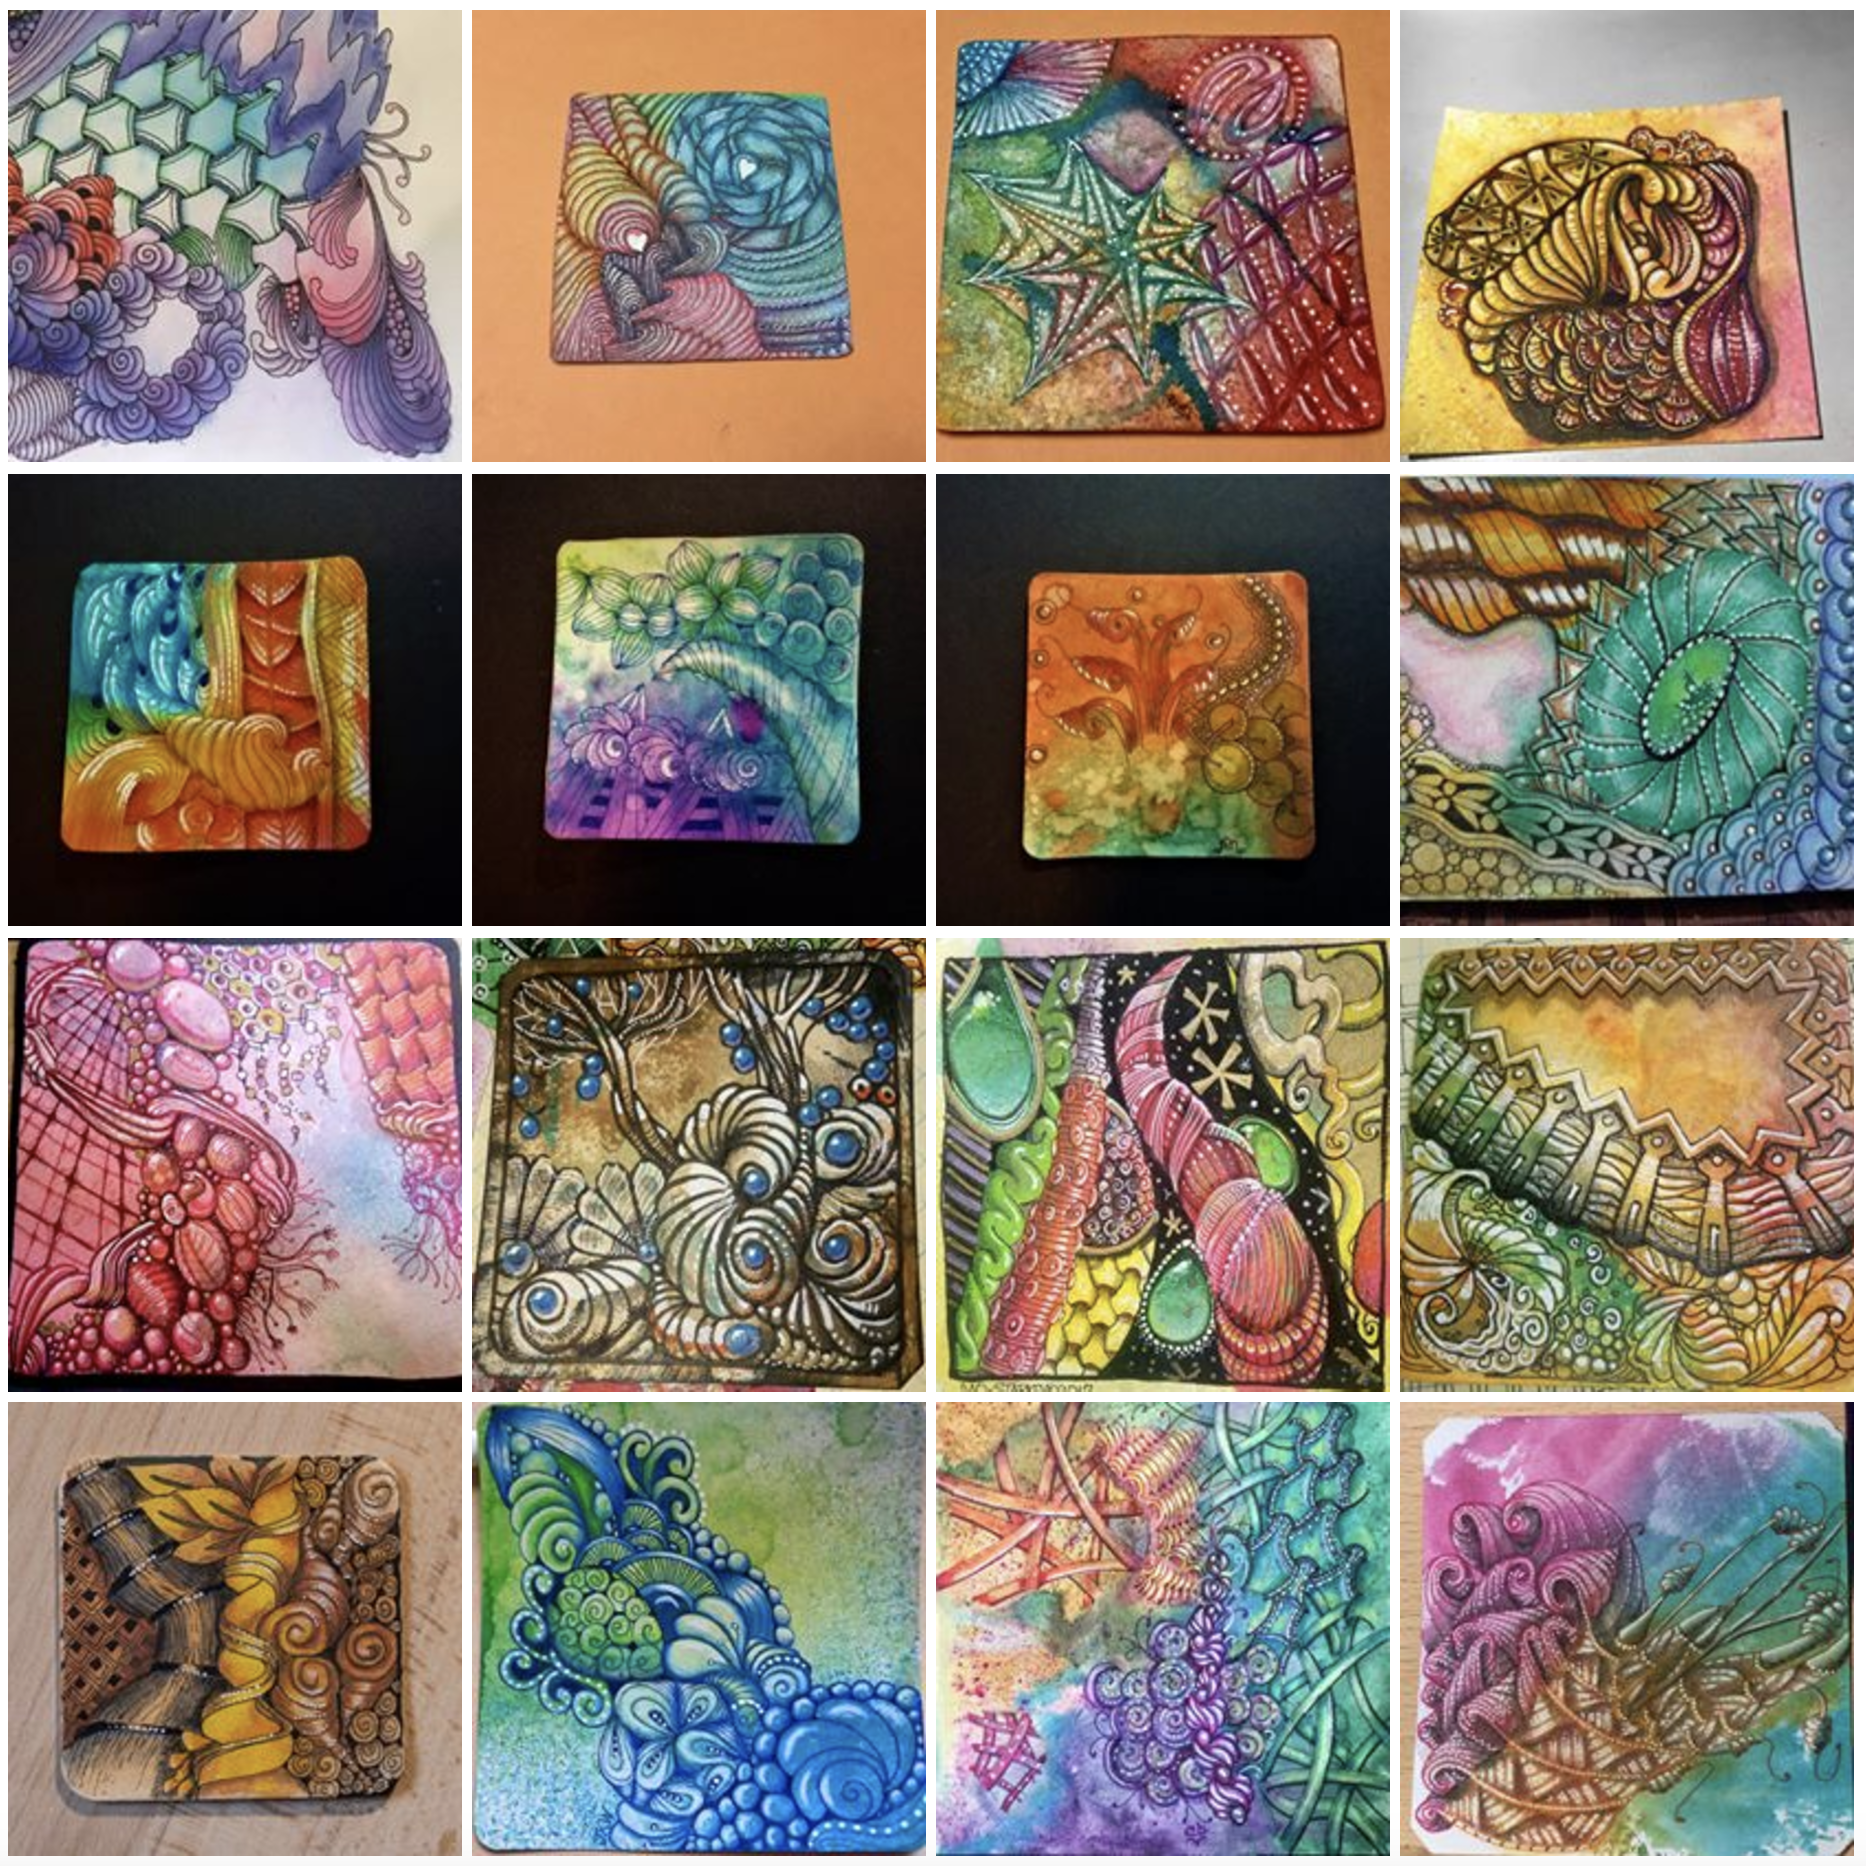
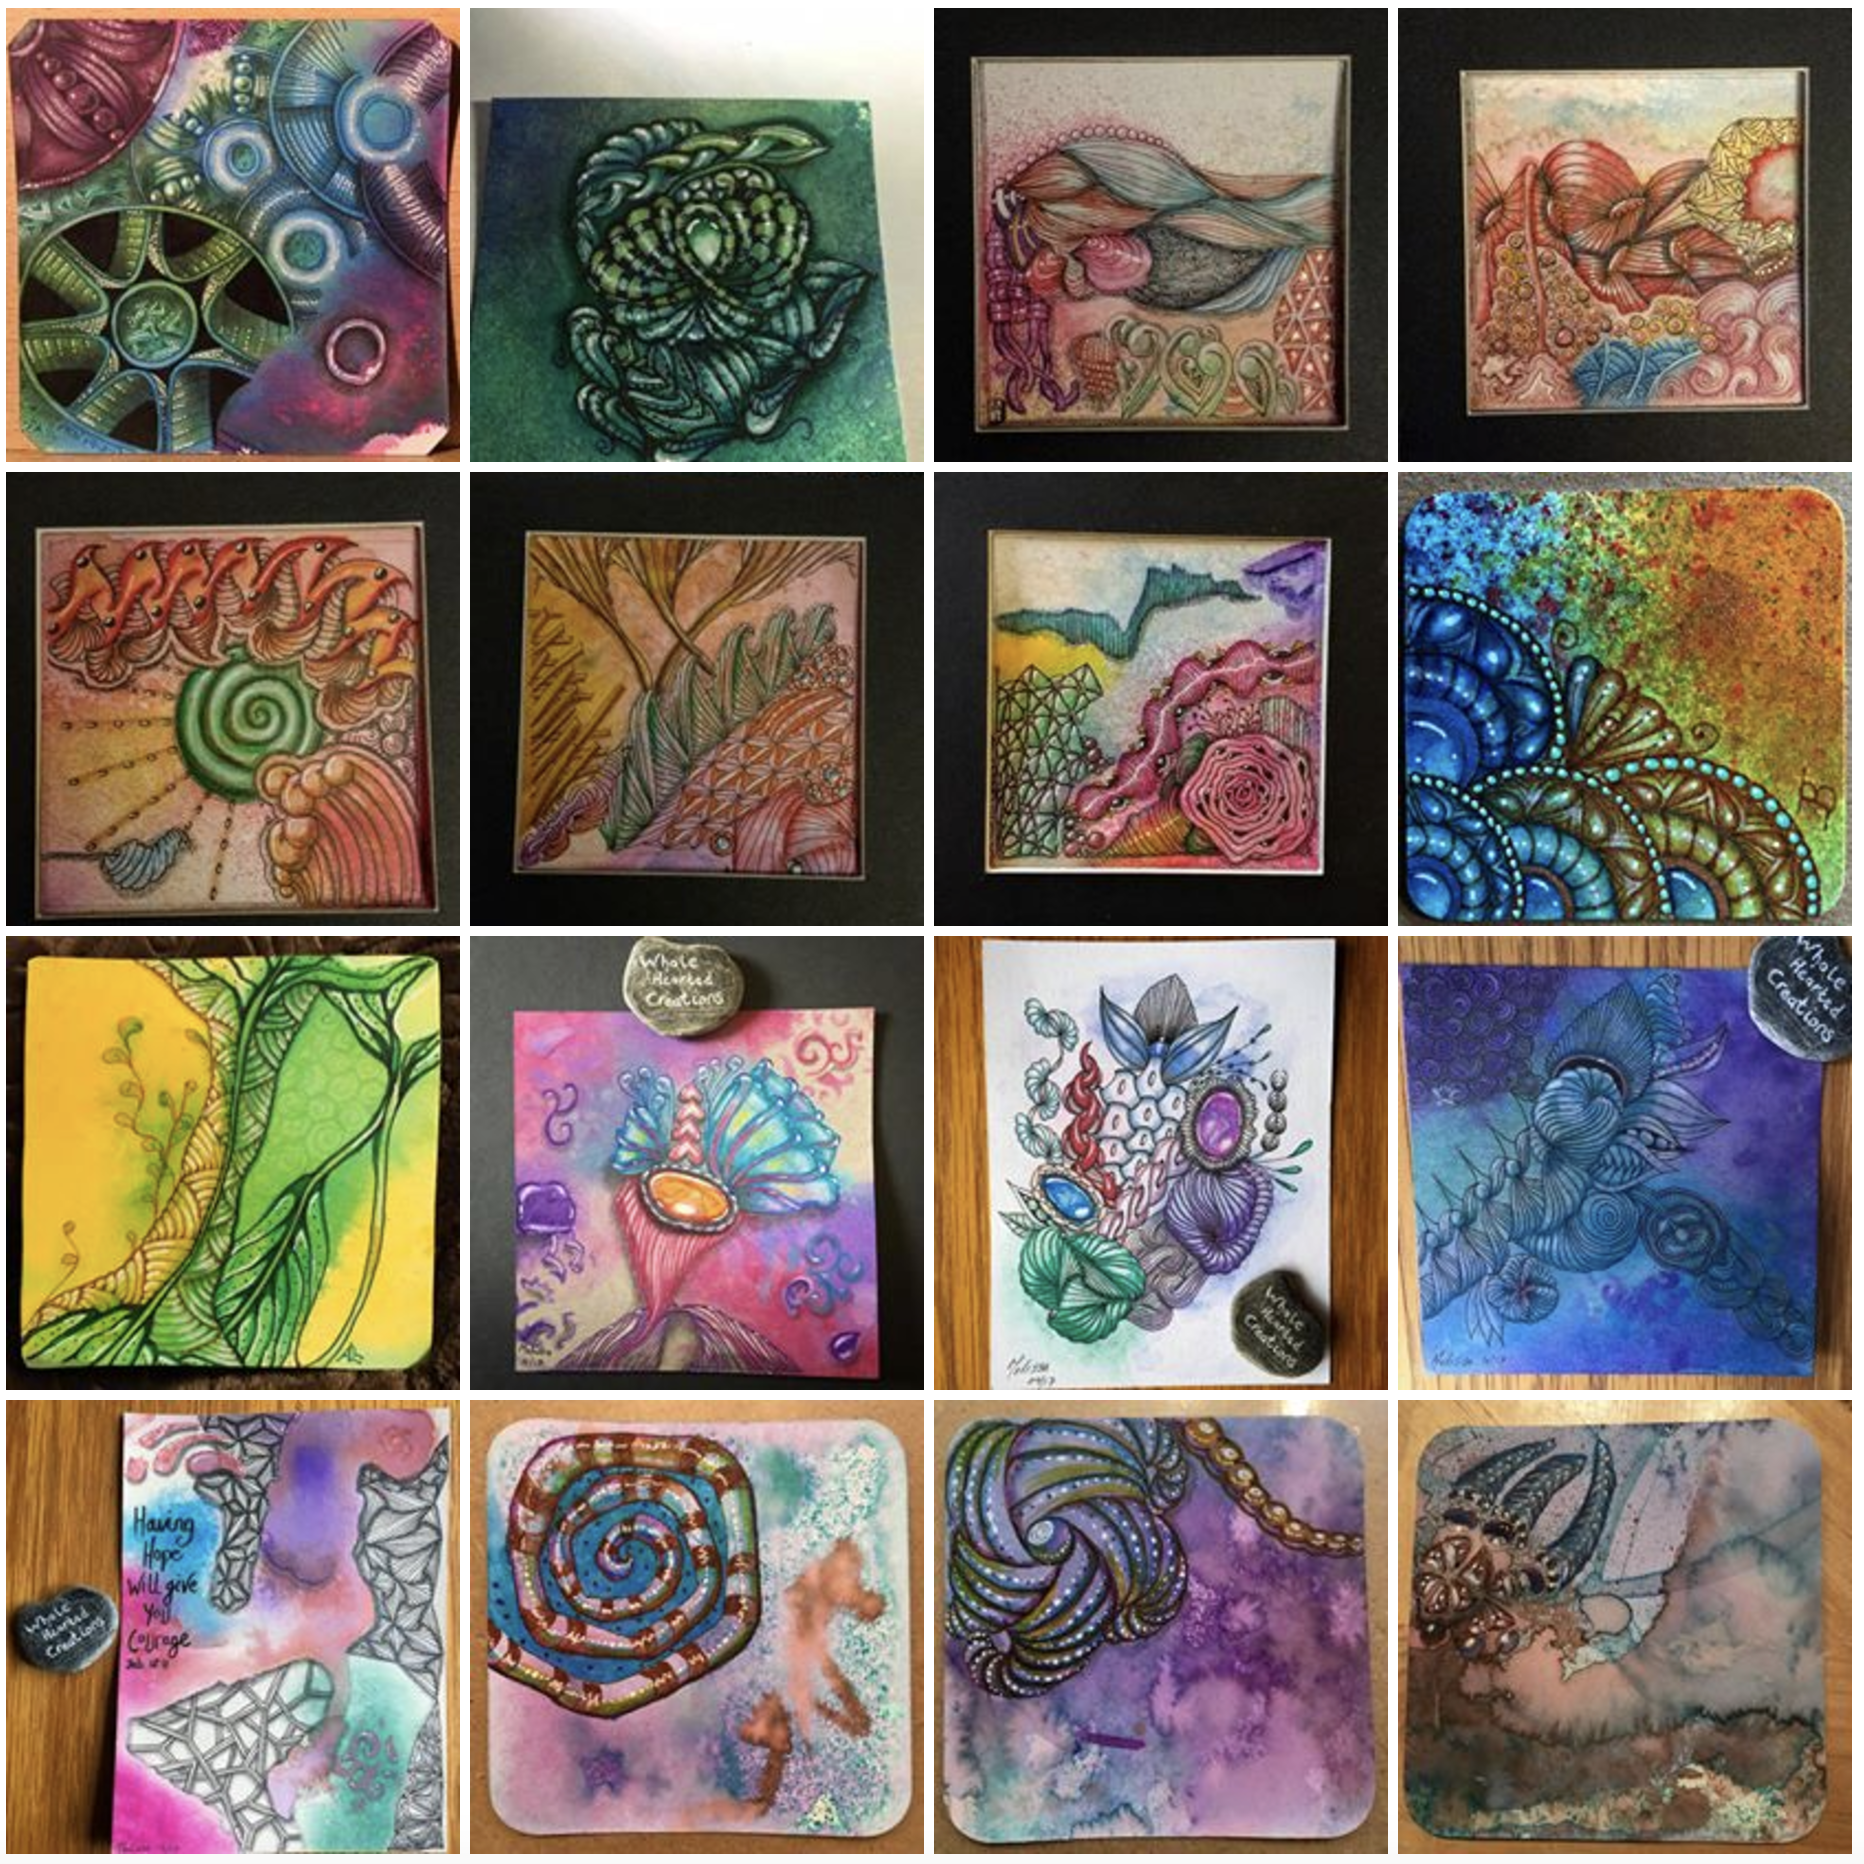
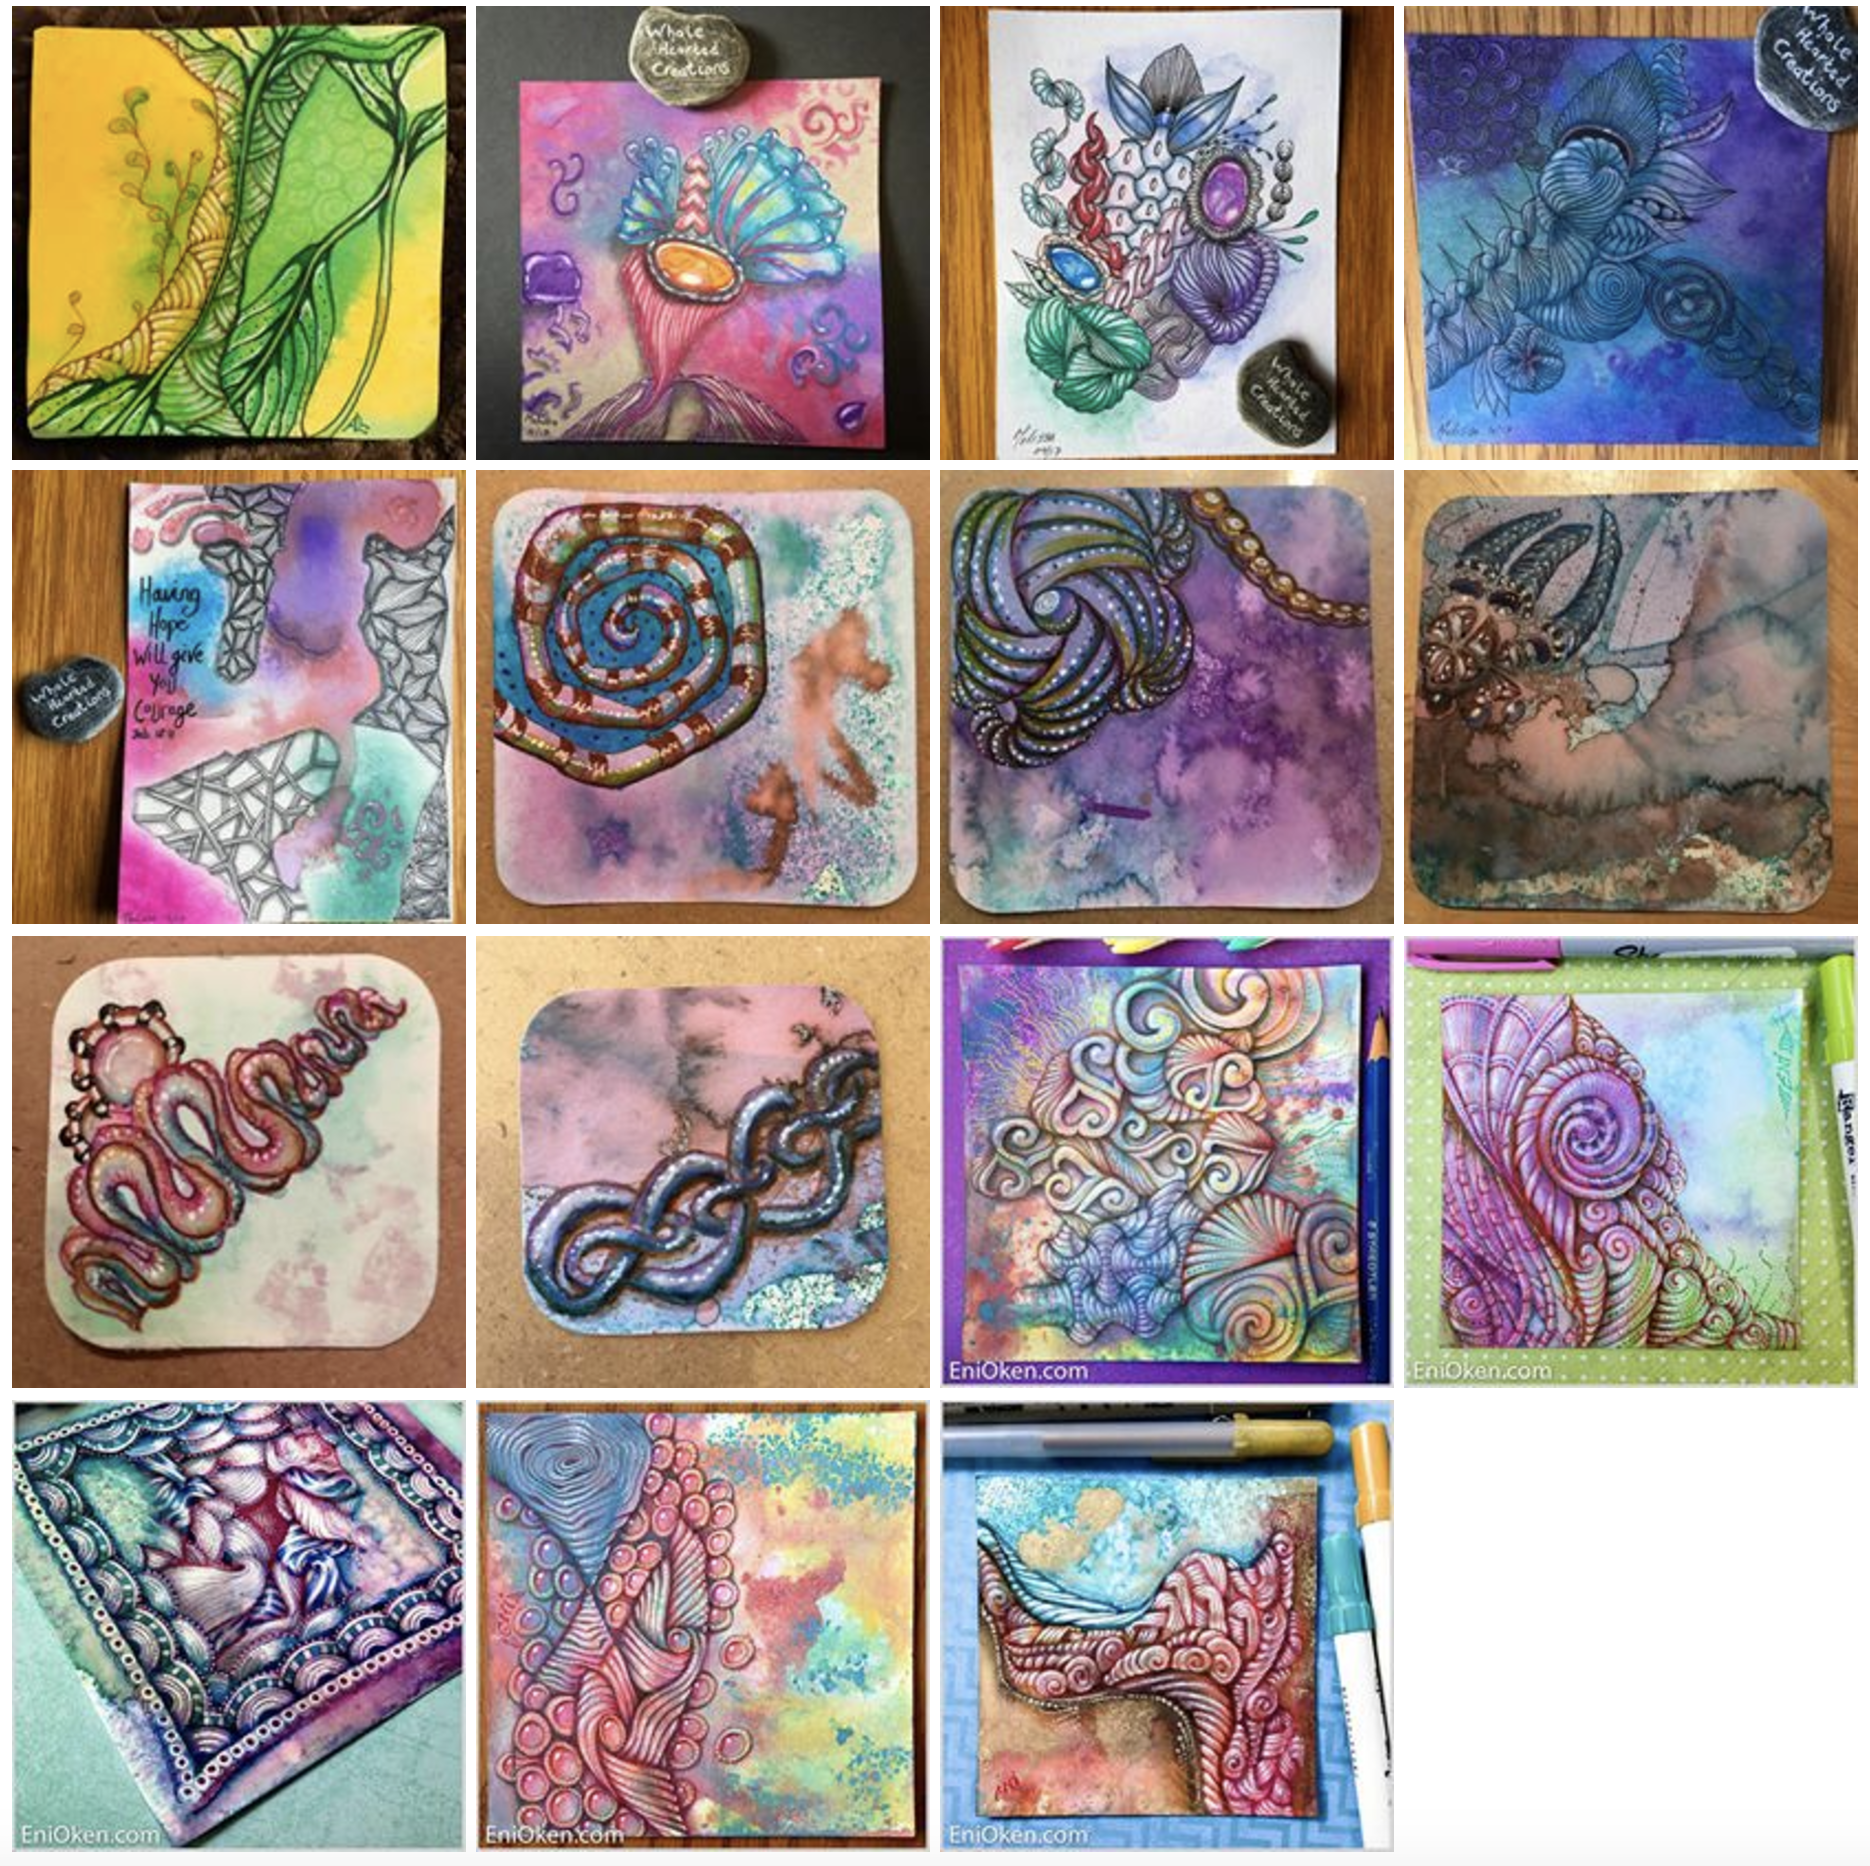
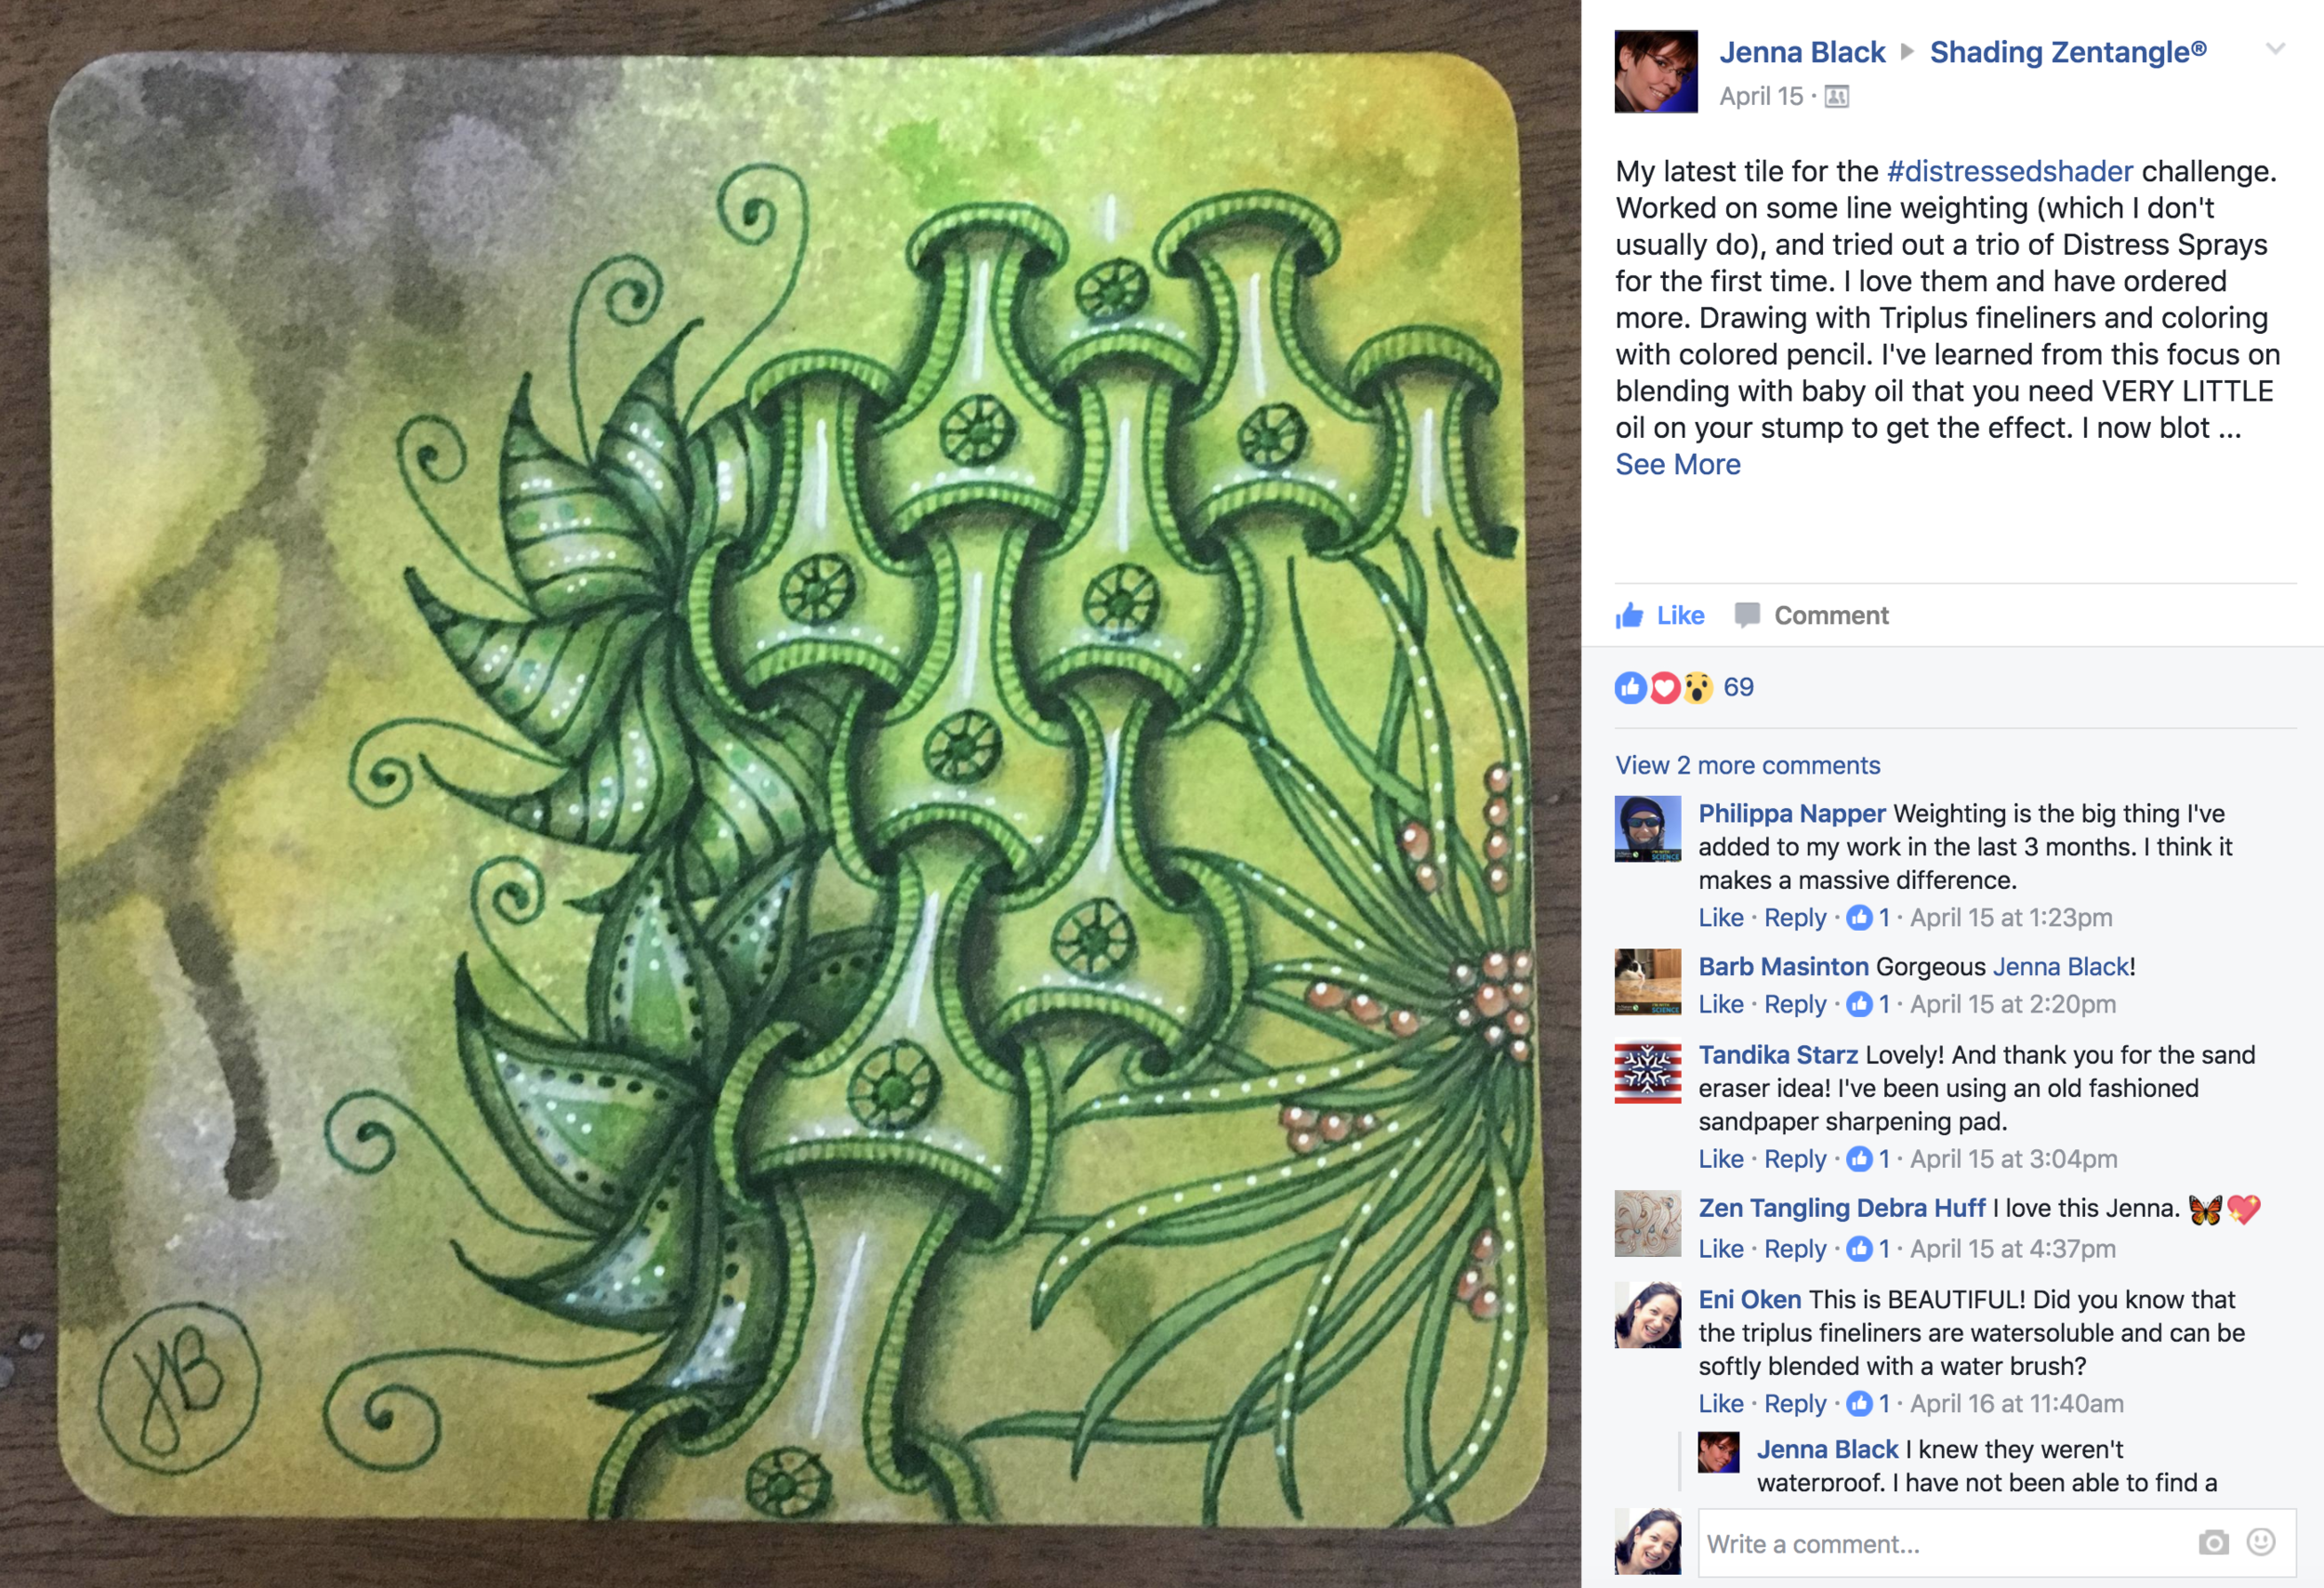
Distressed Tile lesson bundle
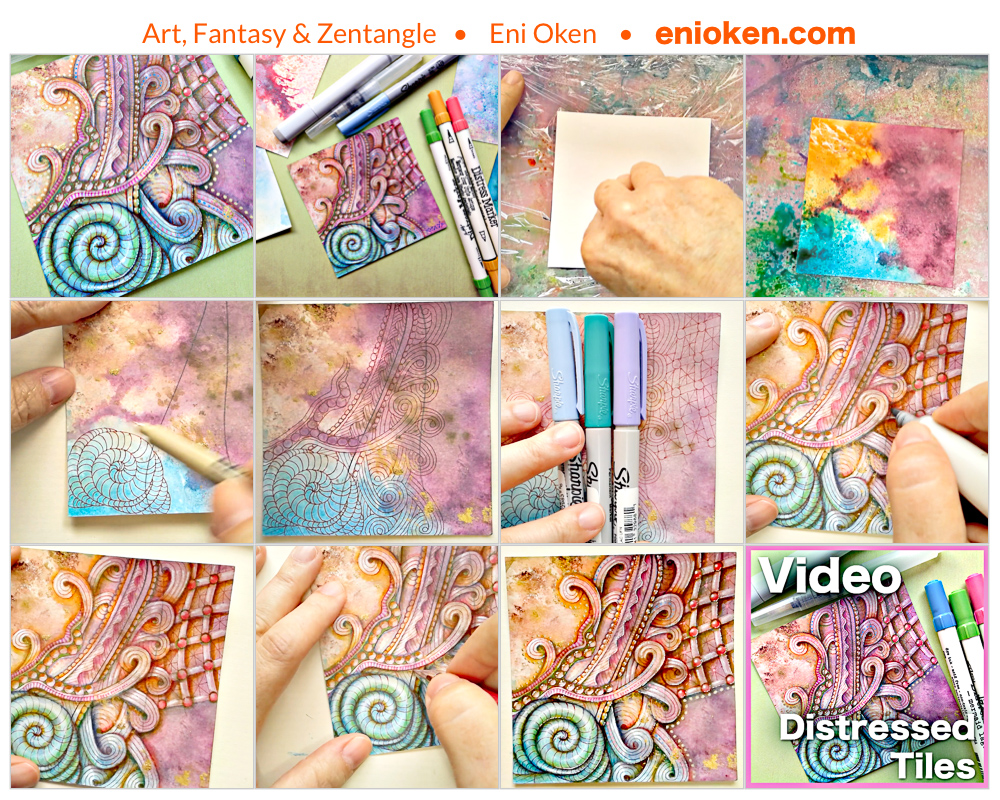
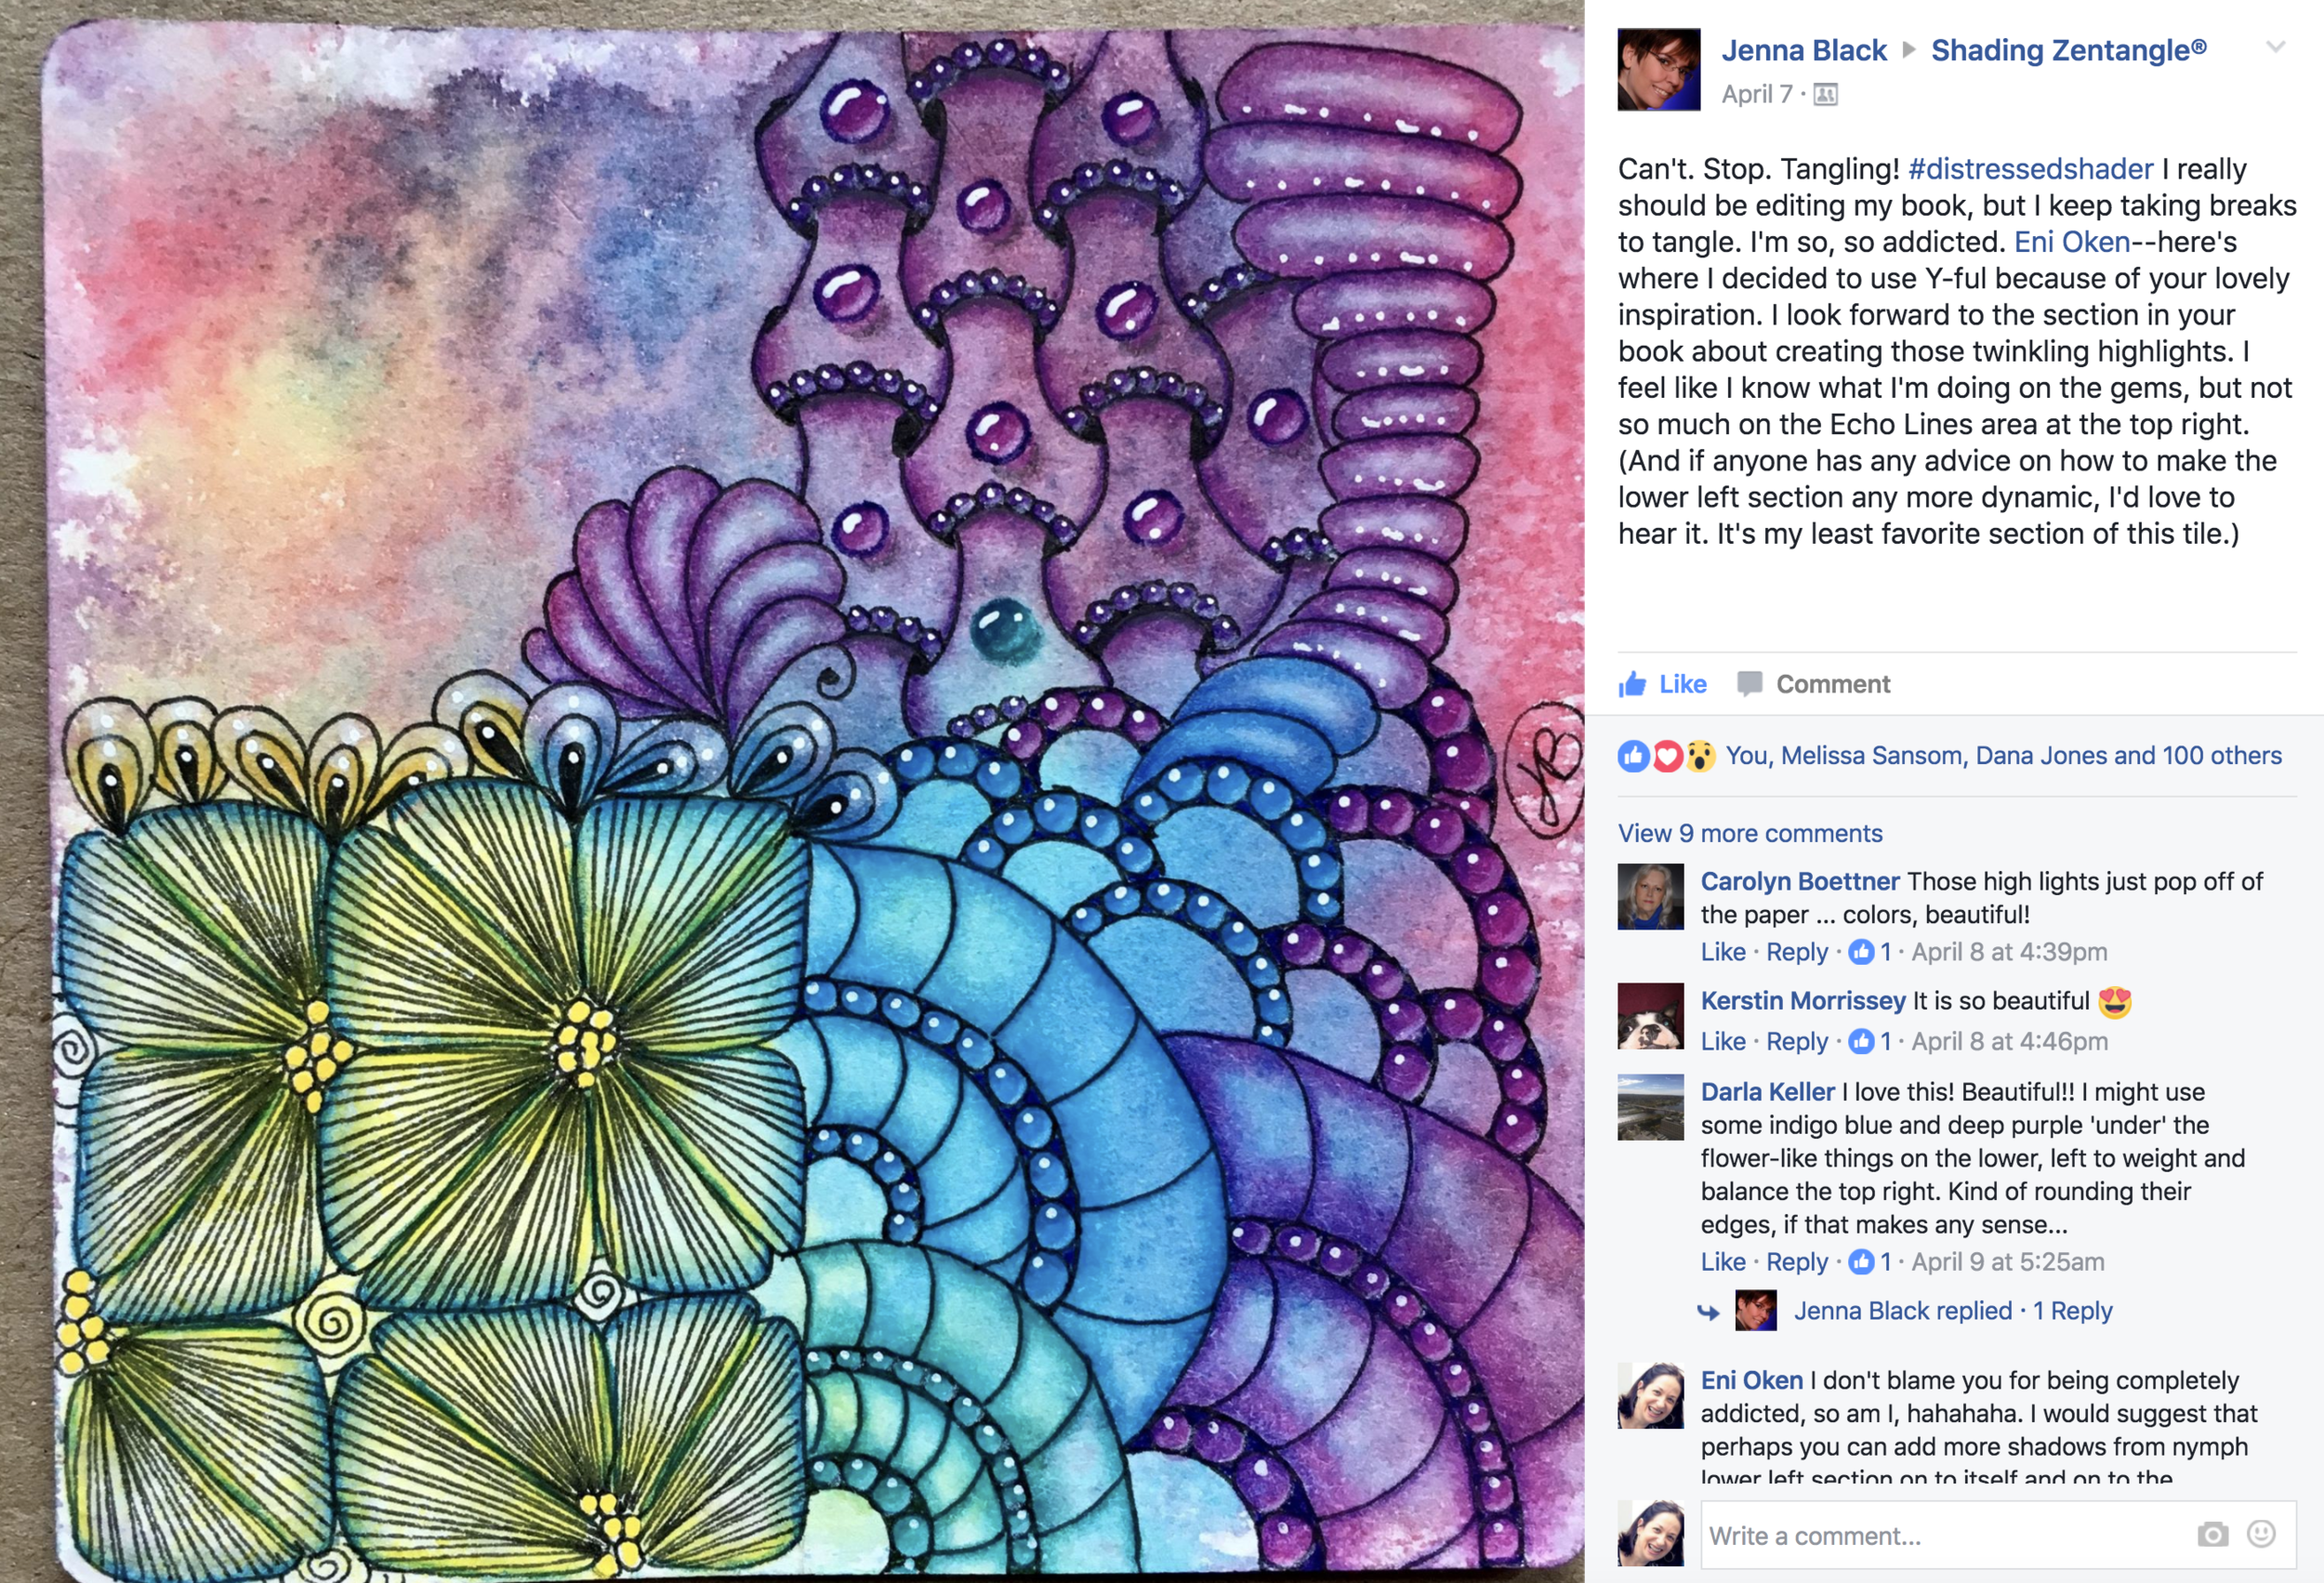
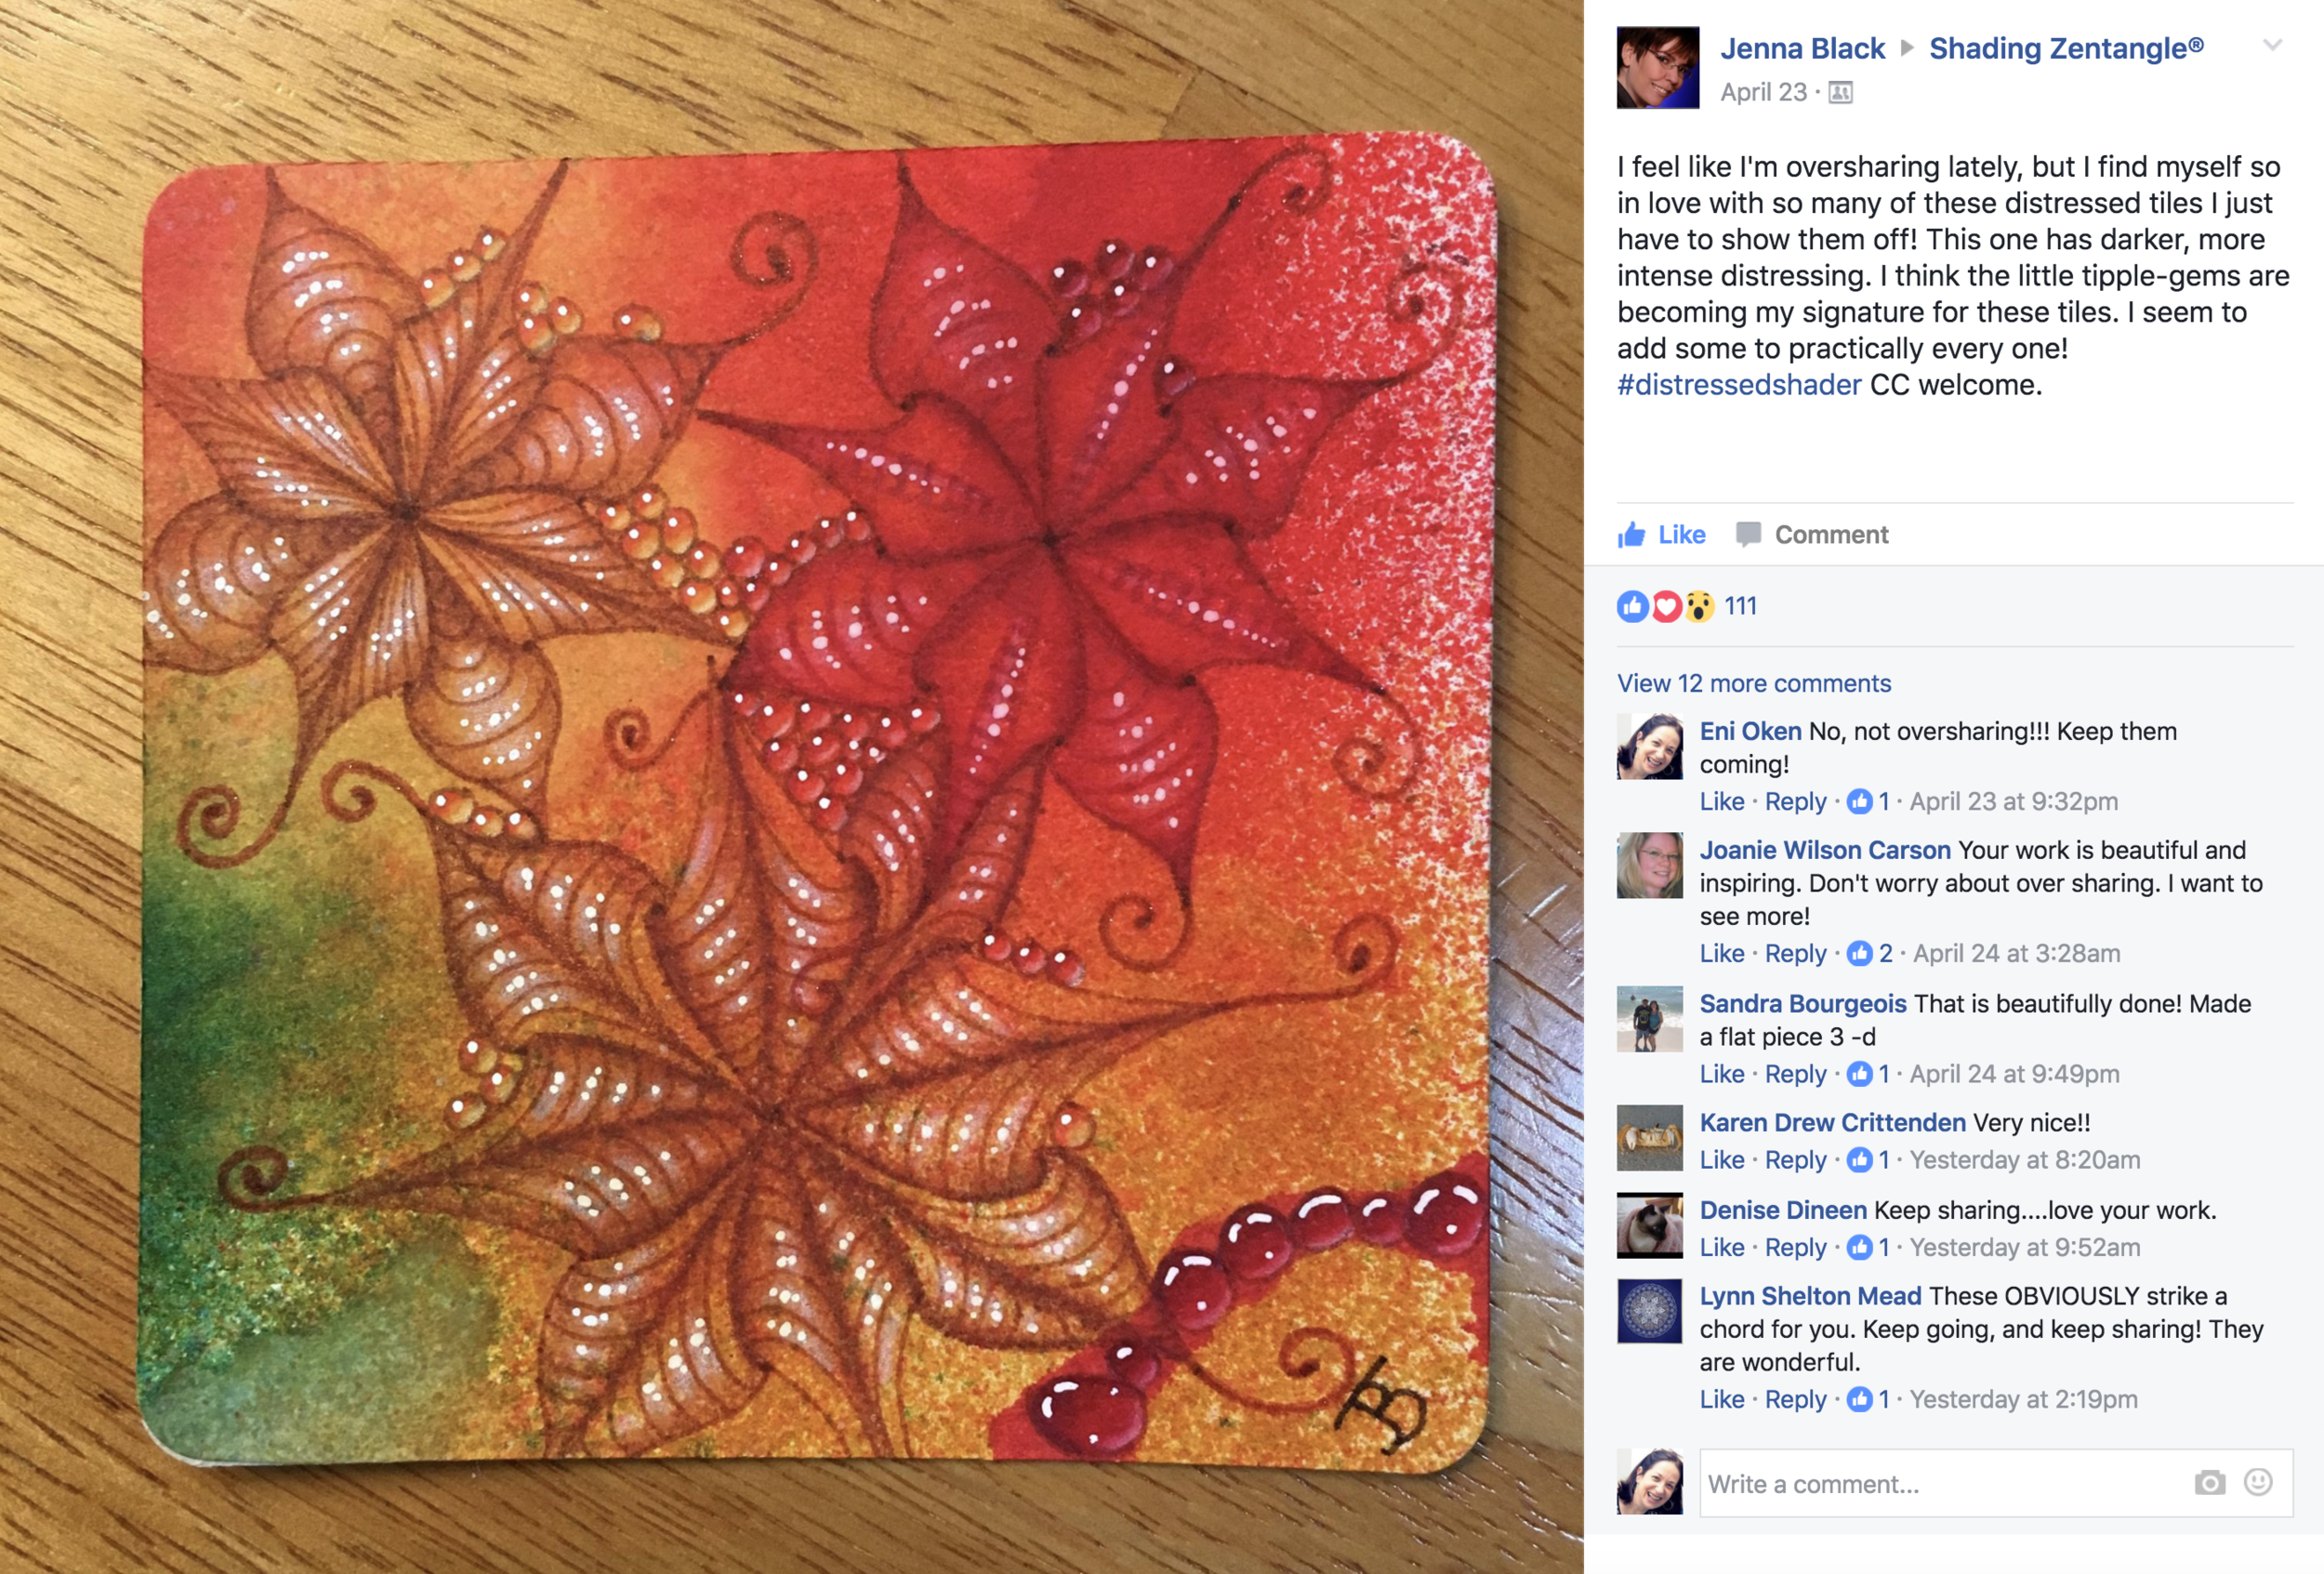
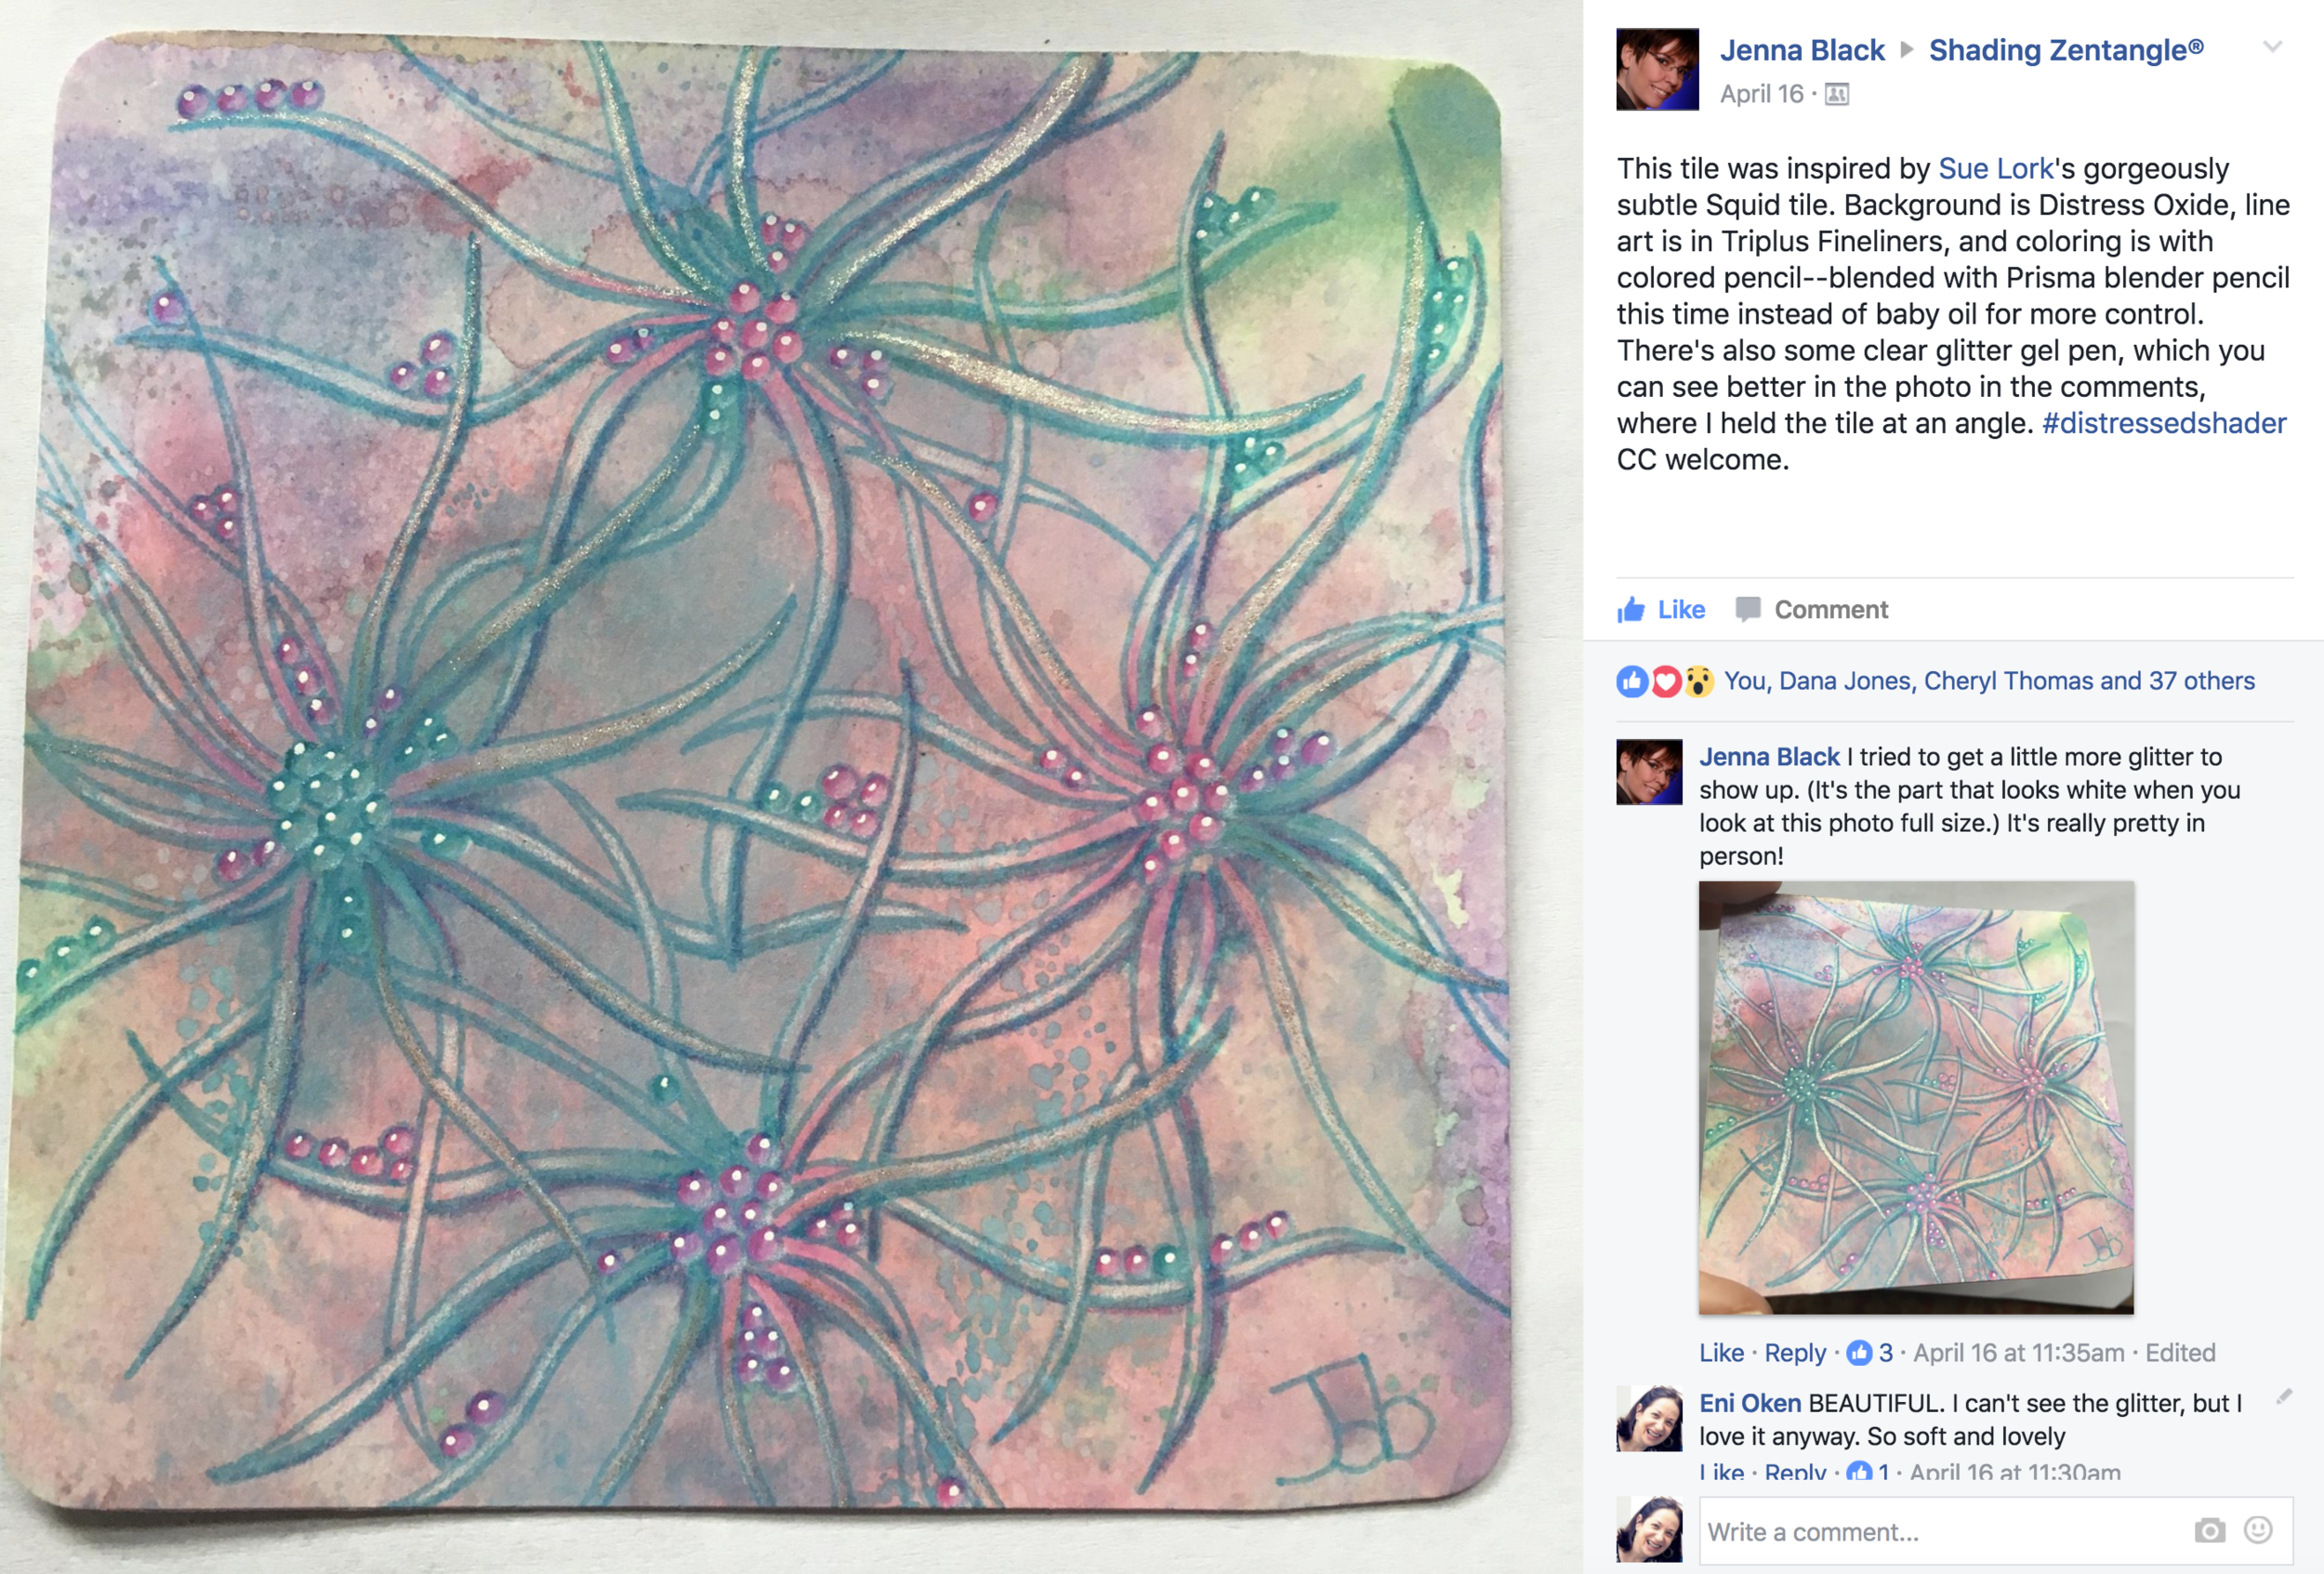
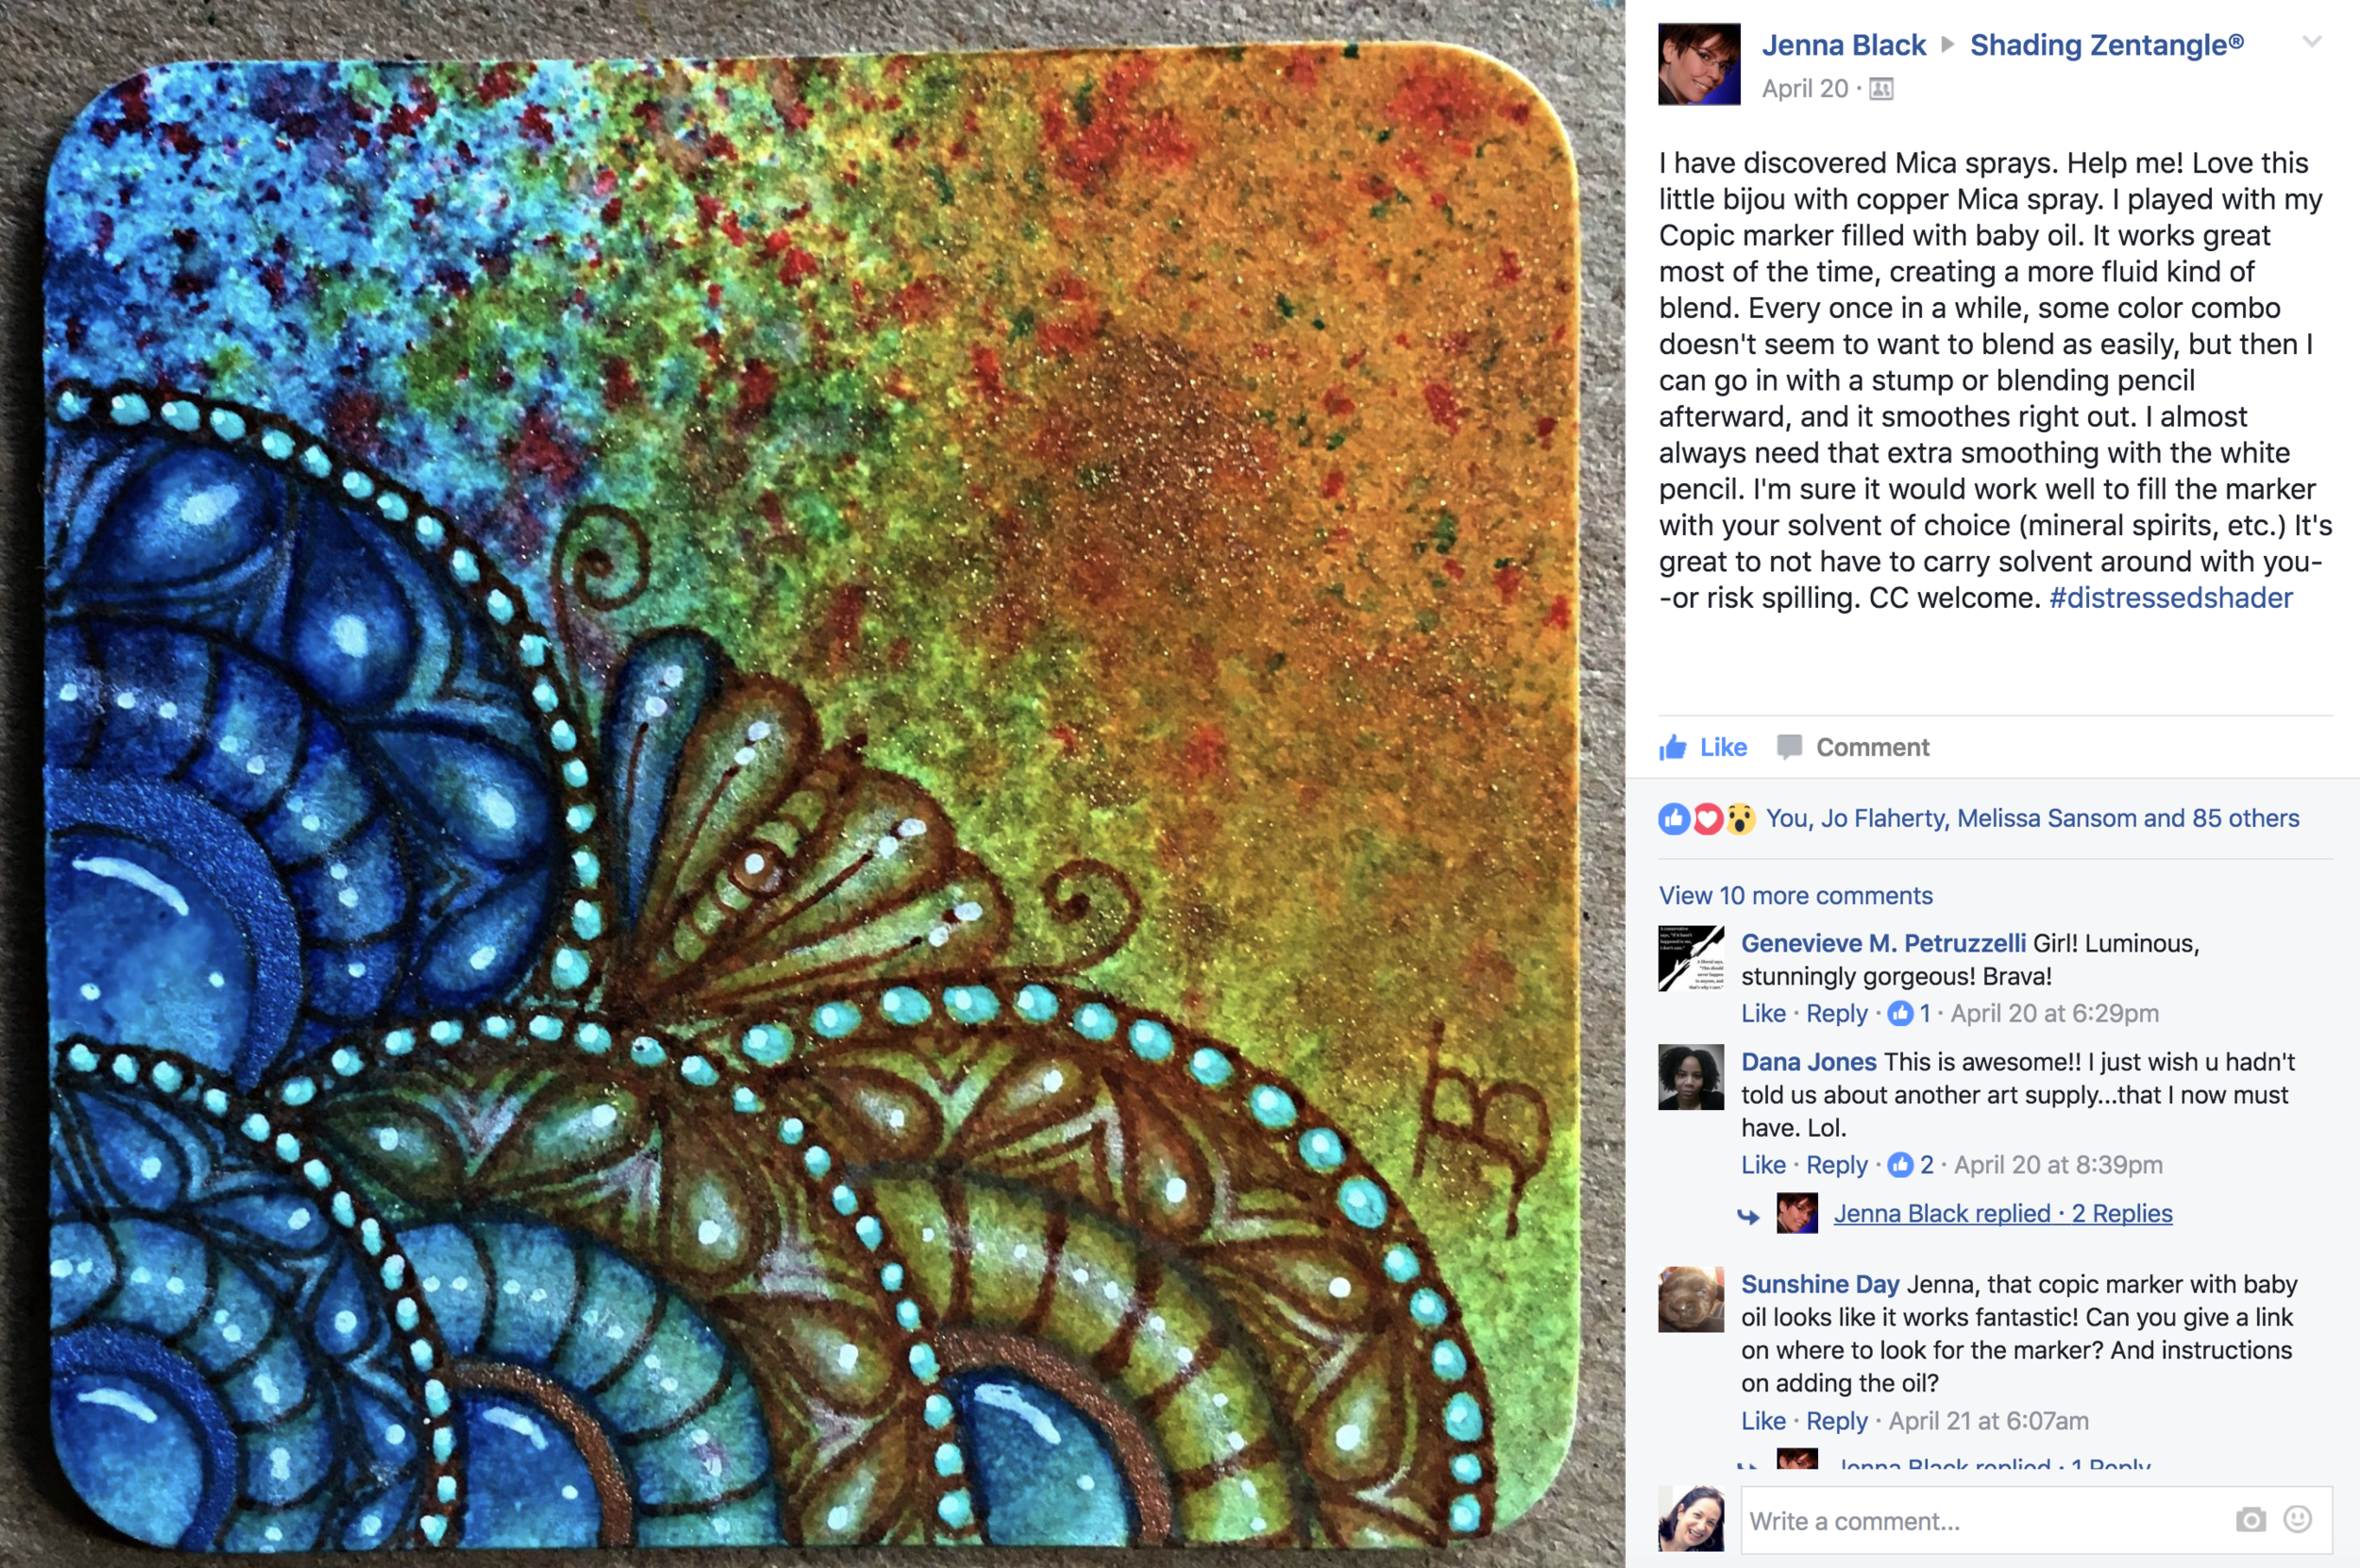
After the super fun we had with the Tangling over Distressed Tile ebook, it was about time I create a video: this video is a little over an hour and shows the ENTIRE PROCESS from beginning to end.
In this lesson you will learn to:
Prepare a distressed tile and what to look for when creating tiles for tangling
Look and enhance the features of a distressed tile
Understand how to use different media including ink pens, watercolor brush markers, alcohol pens, permanent ink pens, gel pens
Understand how to combine and control color to create luminous shading
Create soft and sharp highlights, including "twinkling" highlights
Sooooo many tips and tricks!
List of Supplies
I use a variety of different brands, not hesitating to mix different types of media - with varied degrees of success! I've included links to Amazon or Blicks.com for you to find them easily (there is no additional cost to you). Some of these belong to sets and will not be found individually so feel free to adapt and change the colors or brands!
pencil - any type, just for string and correcting highlights
Distress Ink pads or stain in spray bottles: at least 3 colors plus white "picket fence". You can also use Dylusions Spray Ink.
A large plastic box or drawer
Plastic food wrap
A small spray bottle with water
A small spray bottle with alcohol
Paper towel
Hair dryer or heat gun
Sharpie pens ultra fine point in various colors (waterproof)
Distress Ink Watercolor brush pens in various colors (or any other type of water-soluble brush pen, Koi, Tombow, etc).
White gel pen
Waterbrush (or regular paintbrush, a container with clean water)
Optional: White prismacolor pencil
Do you feel like your distressed shading is missing something?
You'll understand to control color like never before.
FROM BEGINNING TO END, A FULL PROJECT
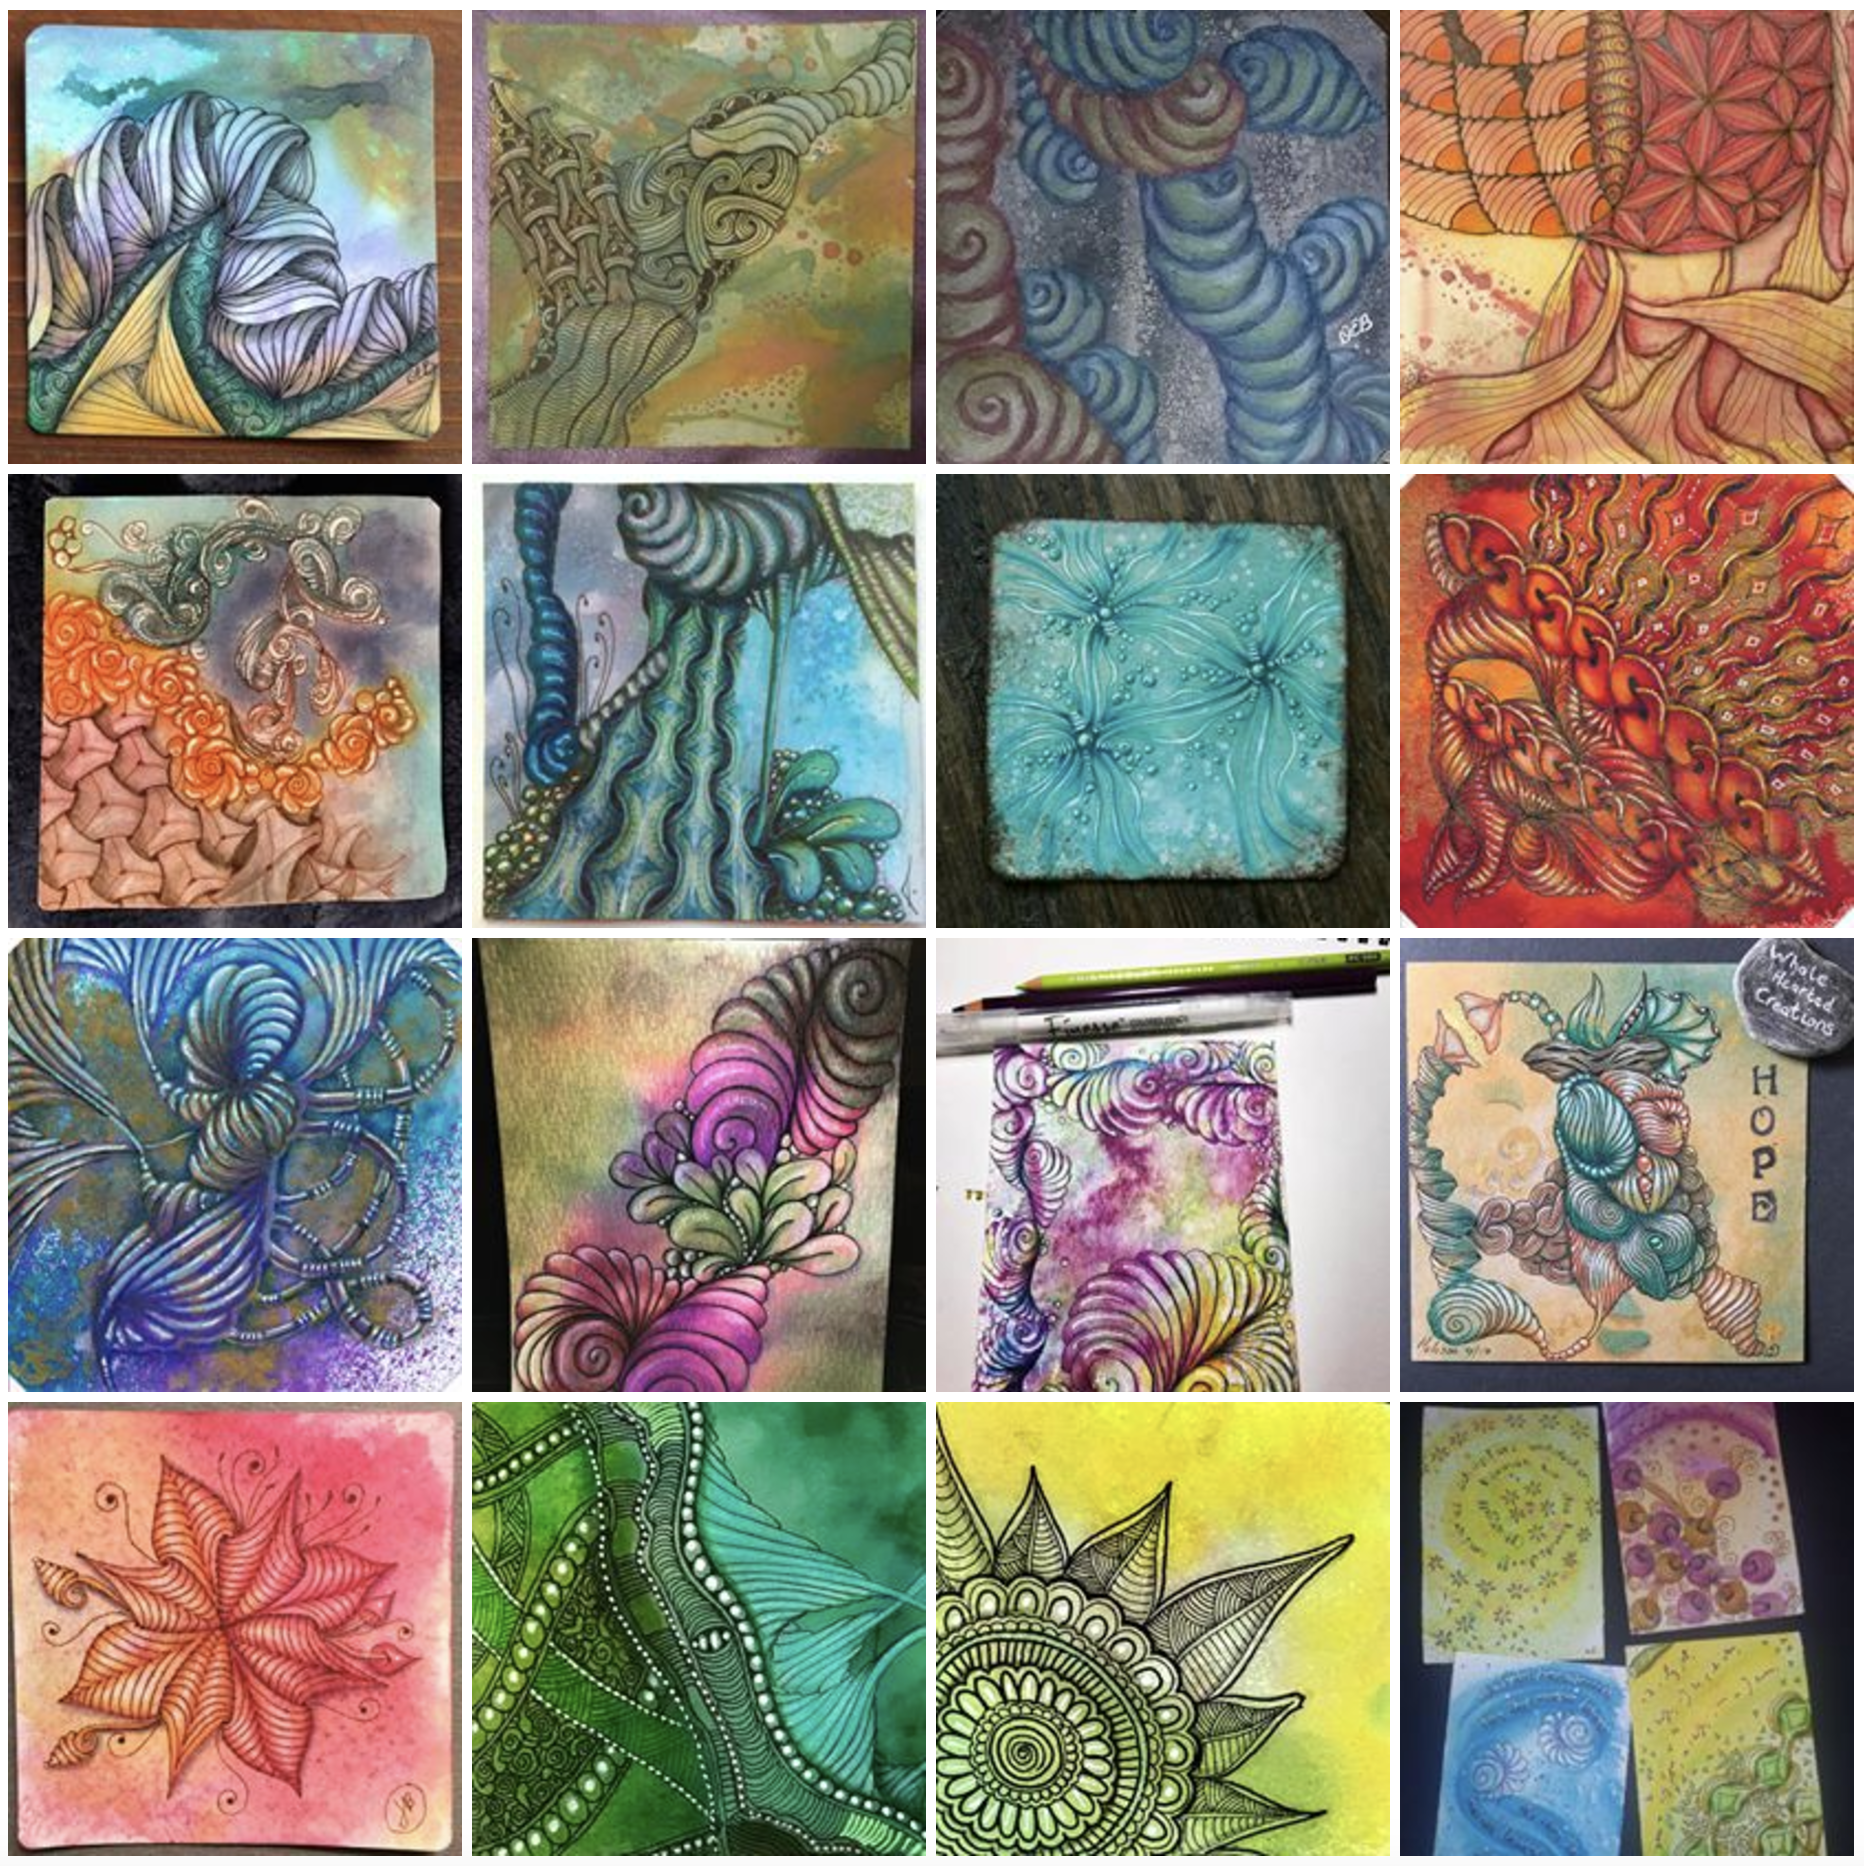
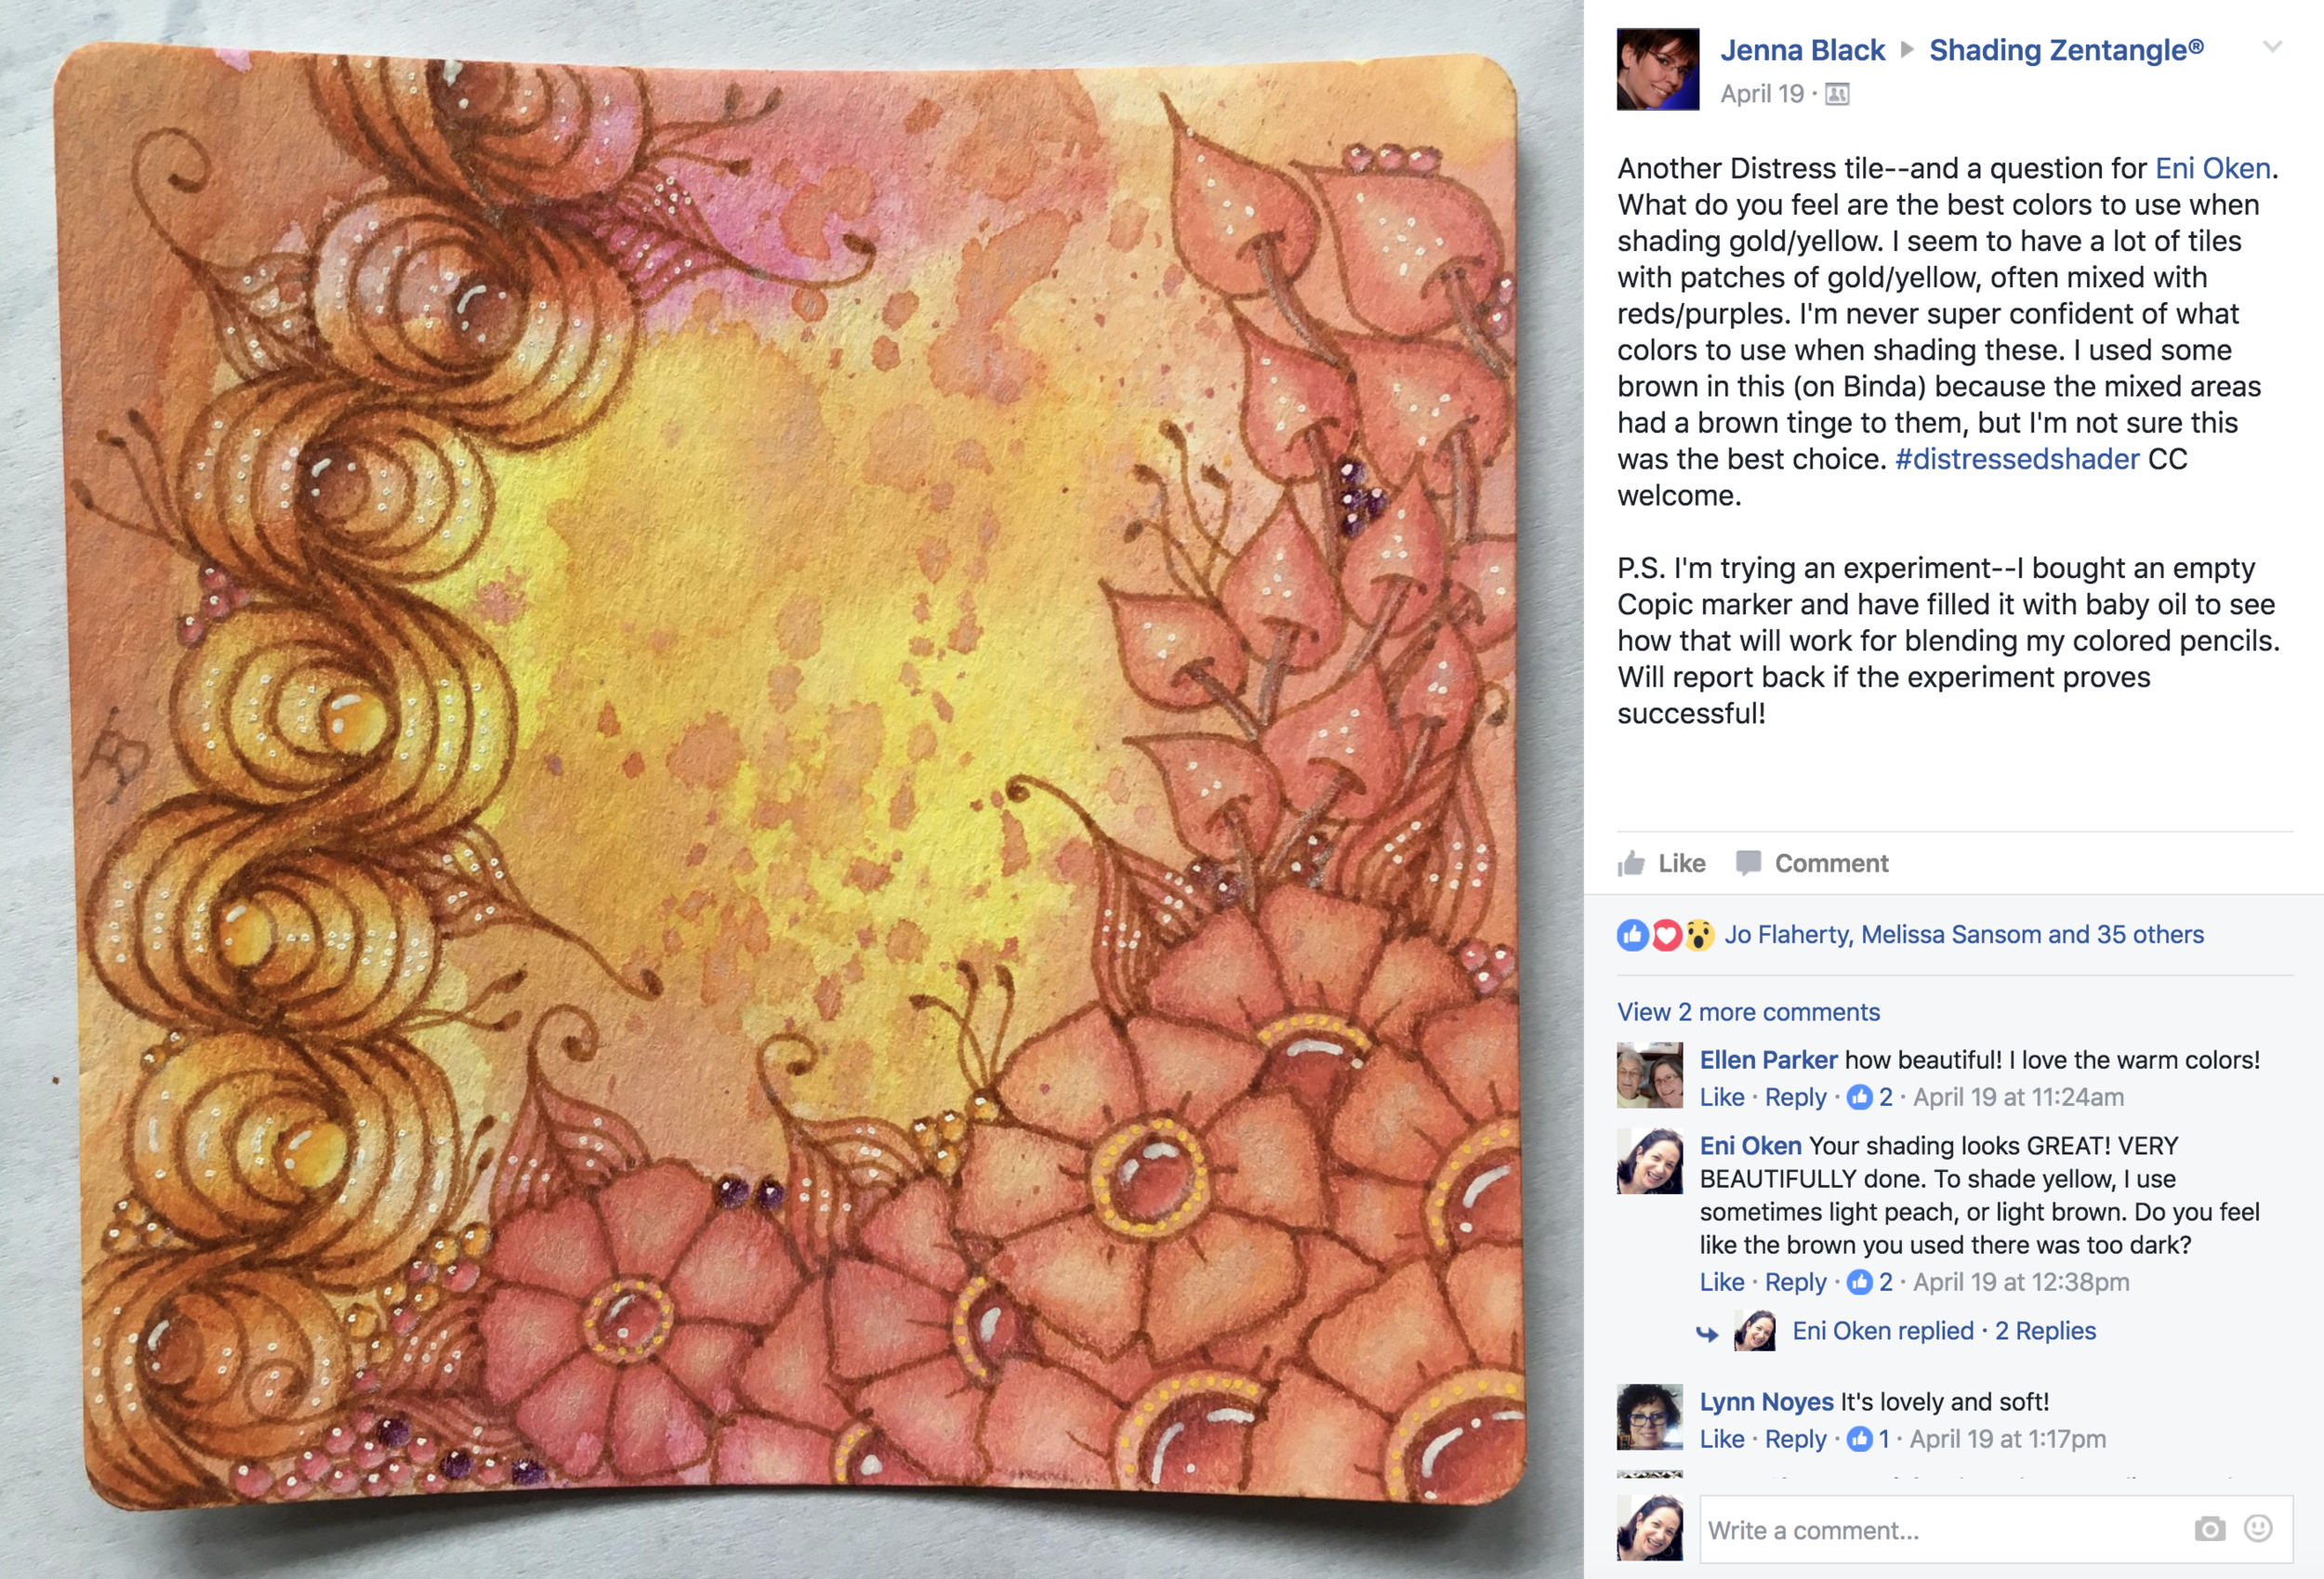
This is what people said about the video:
Additionally, if you want to get really into the details of the right supplies, the technique and the process, consider also getting my ebook:


