
Guest Artist: Jo Flaherty

Today I have an incredibly special treat for you: a technique step-out of one of my favorite artists, Jo Flaherty. She started to post at my Shading Zentangle Facebook group around December 2015, and I've watched in awe her progress and development with such joy. A year later, Jo has developed a unique style that is easily recognizable in any social media venue.
I've asked Jo to show us a step-out of how she creates her dreamy watercolor effects, and I included some conclusions of my own!
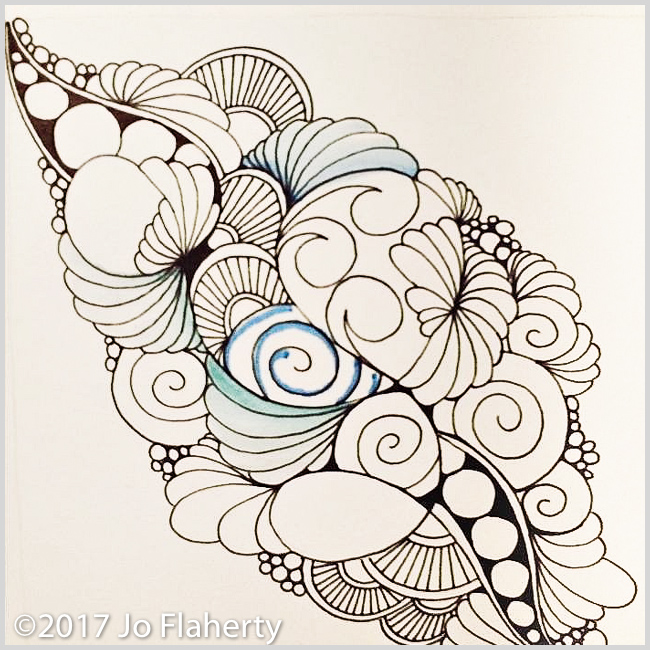
Jo started by creating this beautiful line art. Notice how she uses tangle patterns in a very unconventional way, different than the Zentangle method. She starts by layering different shapes together along a strong diagonal composition.
She likes to vary the shapes quite a bit, avoiding identical repetition.
And finally, her selection of shapes always includes curvaceous tangles with large shapes, avoiding close-knit lines, with plenty of "Echo Lines". These qualities give her work a very graceful style!
Here are Jo's instructions on how to add color:
I'm using Distress Markers in these samples. I begin by adding color to my line work, (center spiral with blue). As you can see, I am not worried about being exact because I am going to blend it out. Use water sparingly so as not to soak the paper.

I start blending at the edge of the color farthest from the black line work. I try to keep the color a littler darker right next to the black line.
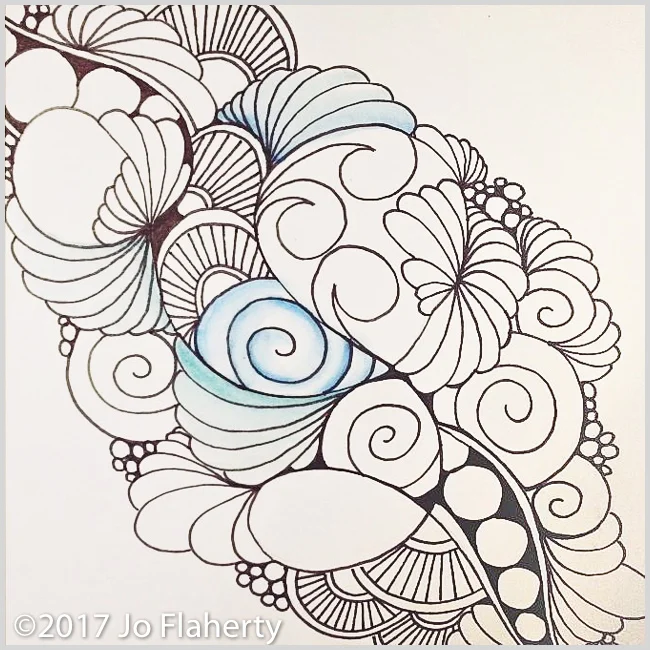
I continue to add color and blend it out. I work from the edge of the color away from the black line and bring it toward the middle.

Wait for it to dry somewhat, and add another layer of color. It works best if you are working on several areas at once, so they can dry in between layers. You can also use a blow dryer to speed up the drying time.

Continue this process, adding layers, until you are happy with the depth of color.


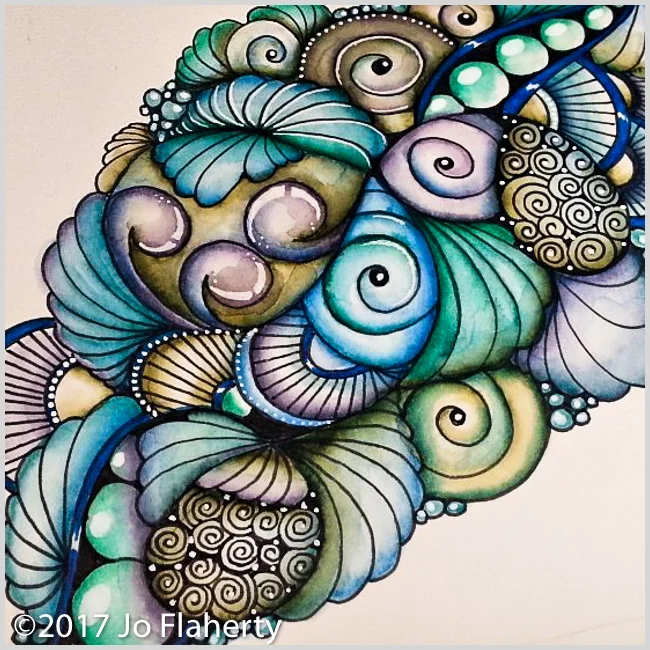
Here is Jo's work in progress! Notice how she uses a tremendous amount of layers of color to achieve depth. She doesn't always use the same color, but instead alternates with slightly different tones and hues to give each patch a rich, jeweled tone.

This is the final piece, after Jo has added white gel pen highlights, dots and white lines to bring out the brilliance of each section.

Notice how Jo works to keep the center of each section lighter, darkening the corners and edges. Although she doesn't really follow a fixed source of light, this method produces rich and deep contrast.
More of Jo Flaherty's art:
These are some other pieces by Jo Flaherty. If you wish to purchase prints or commissions, you can contact her at her Facebook page:


Jo's technique is the focus of my Shading Zentangle Facebook group this week. If you want to chat with Jo, then join the group (to join you must show pictures of your Zentangle work on your Facebook profile. )
Thank you so much Jo, for sharing with us your spectacular technique! I wish you continued success and creativity!
Copyrights belong to their respective owners. All pictures and comments posted with permission.